Active Directory Home Lab
Exploring various technologies such as active directory and group policy is exciting but there is one single limitation that prevented me from going full experimental.
We are in a production environment
With this in mind, I decided that building a home virtualization lab would help me build my own domain and experiment with all the technology that comes with it.
Table of Contents
Objectives
- Install Windows Server 2019
- Create a Windows Domain
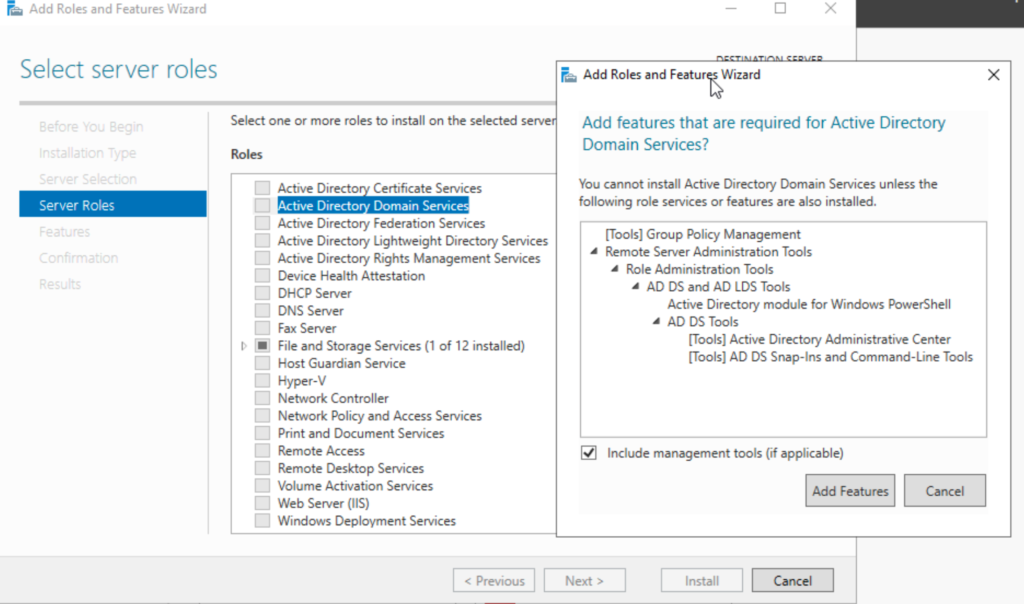
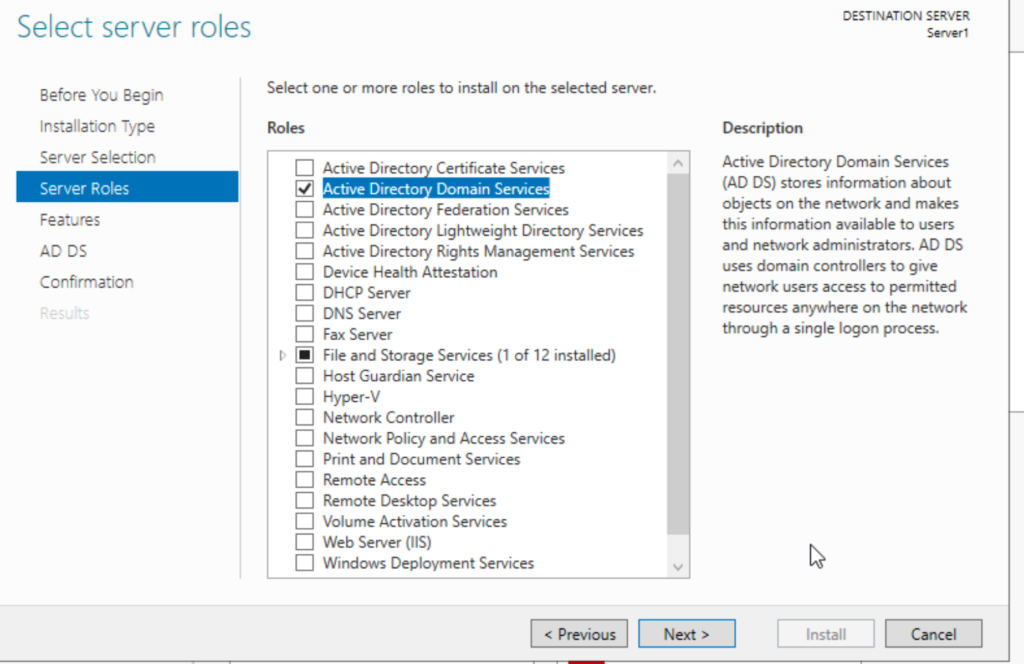
- Install and configure a domain controller using Active Directory
- Create and organize objects such as users and security groups using Active Directory
- Create and manage group policies (GPO) to perform various actions:
- Block access to applications
- Restrict access to certain folders
- Map set folders automatically
- Disable the download of executable files
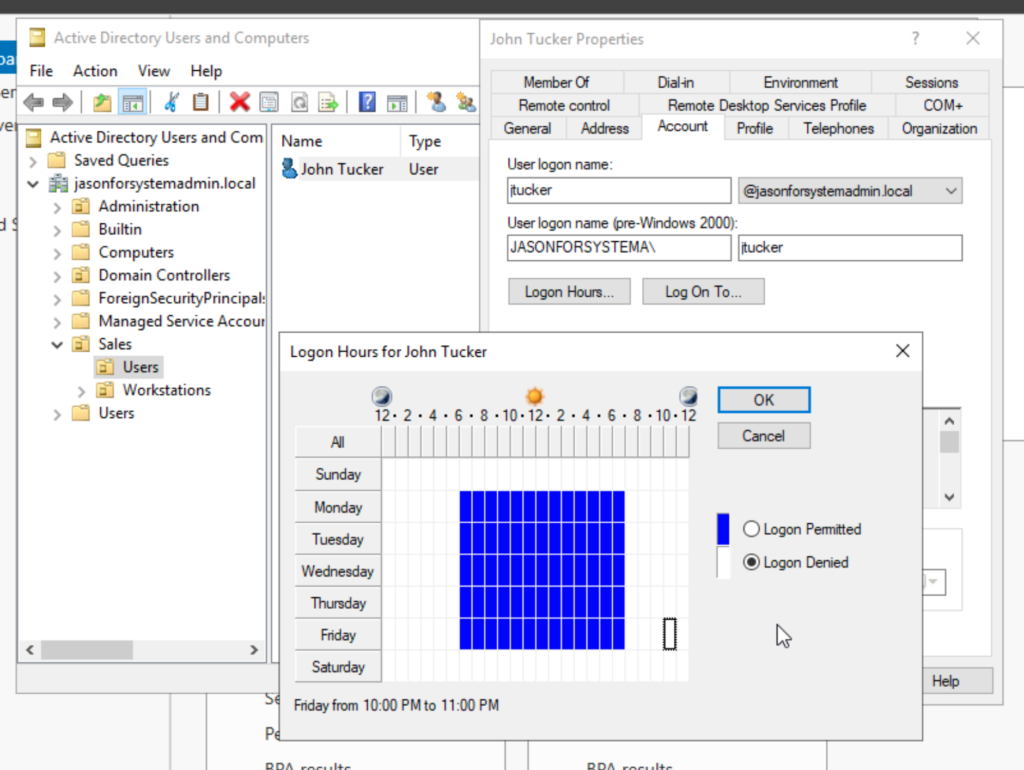
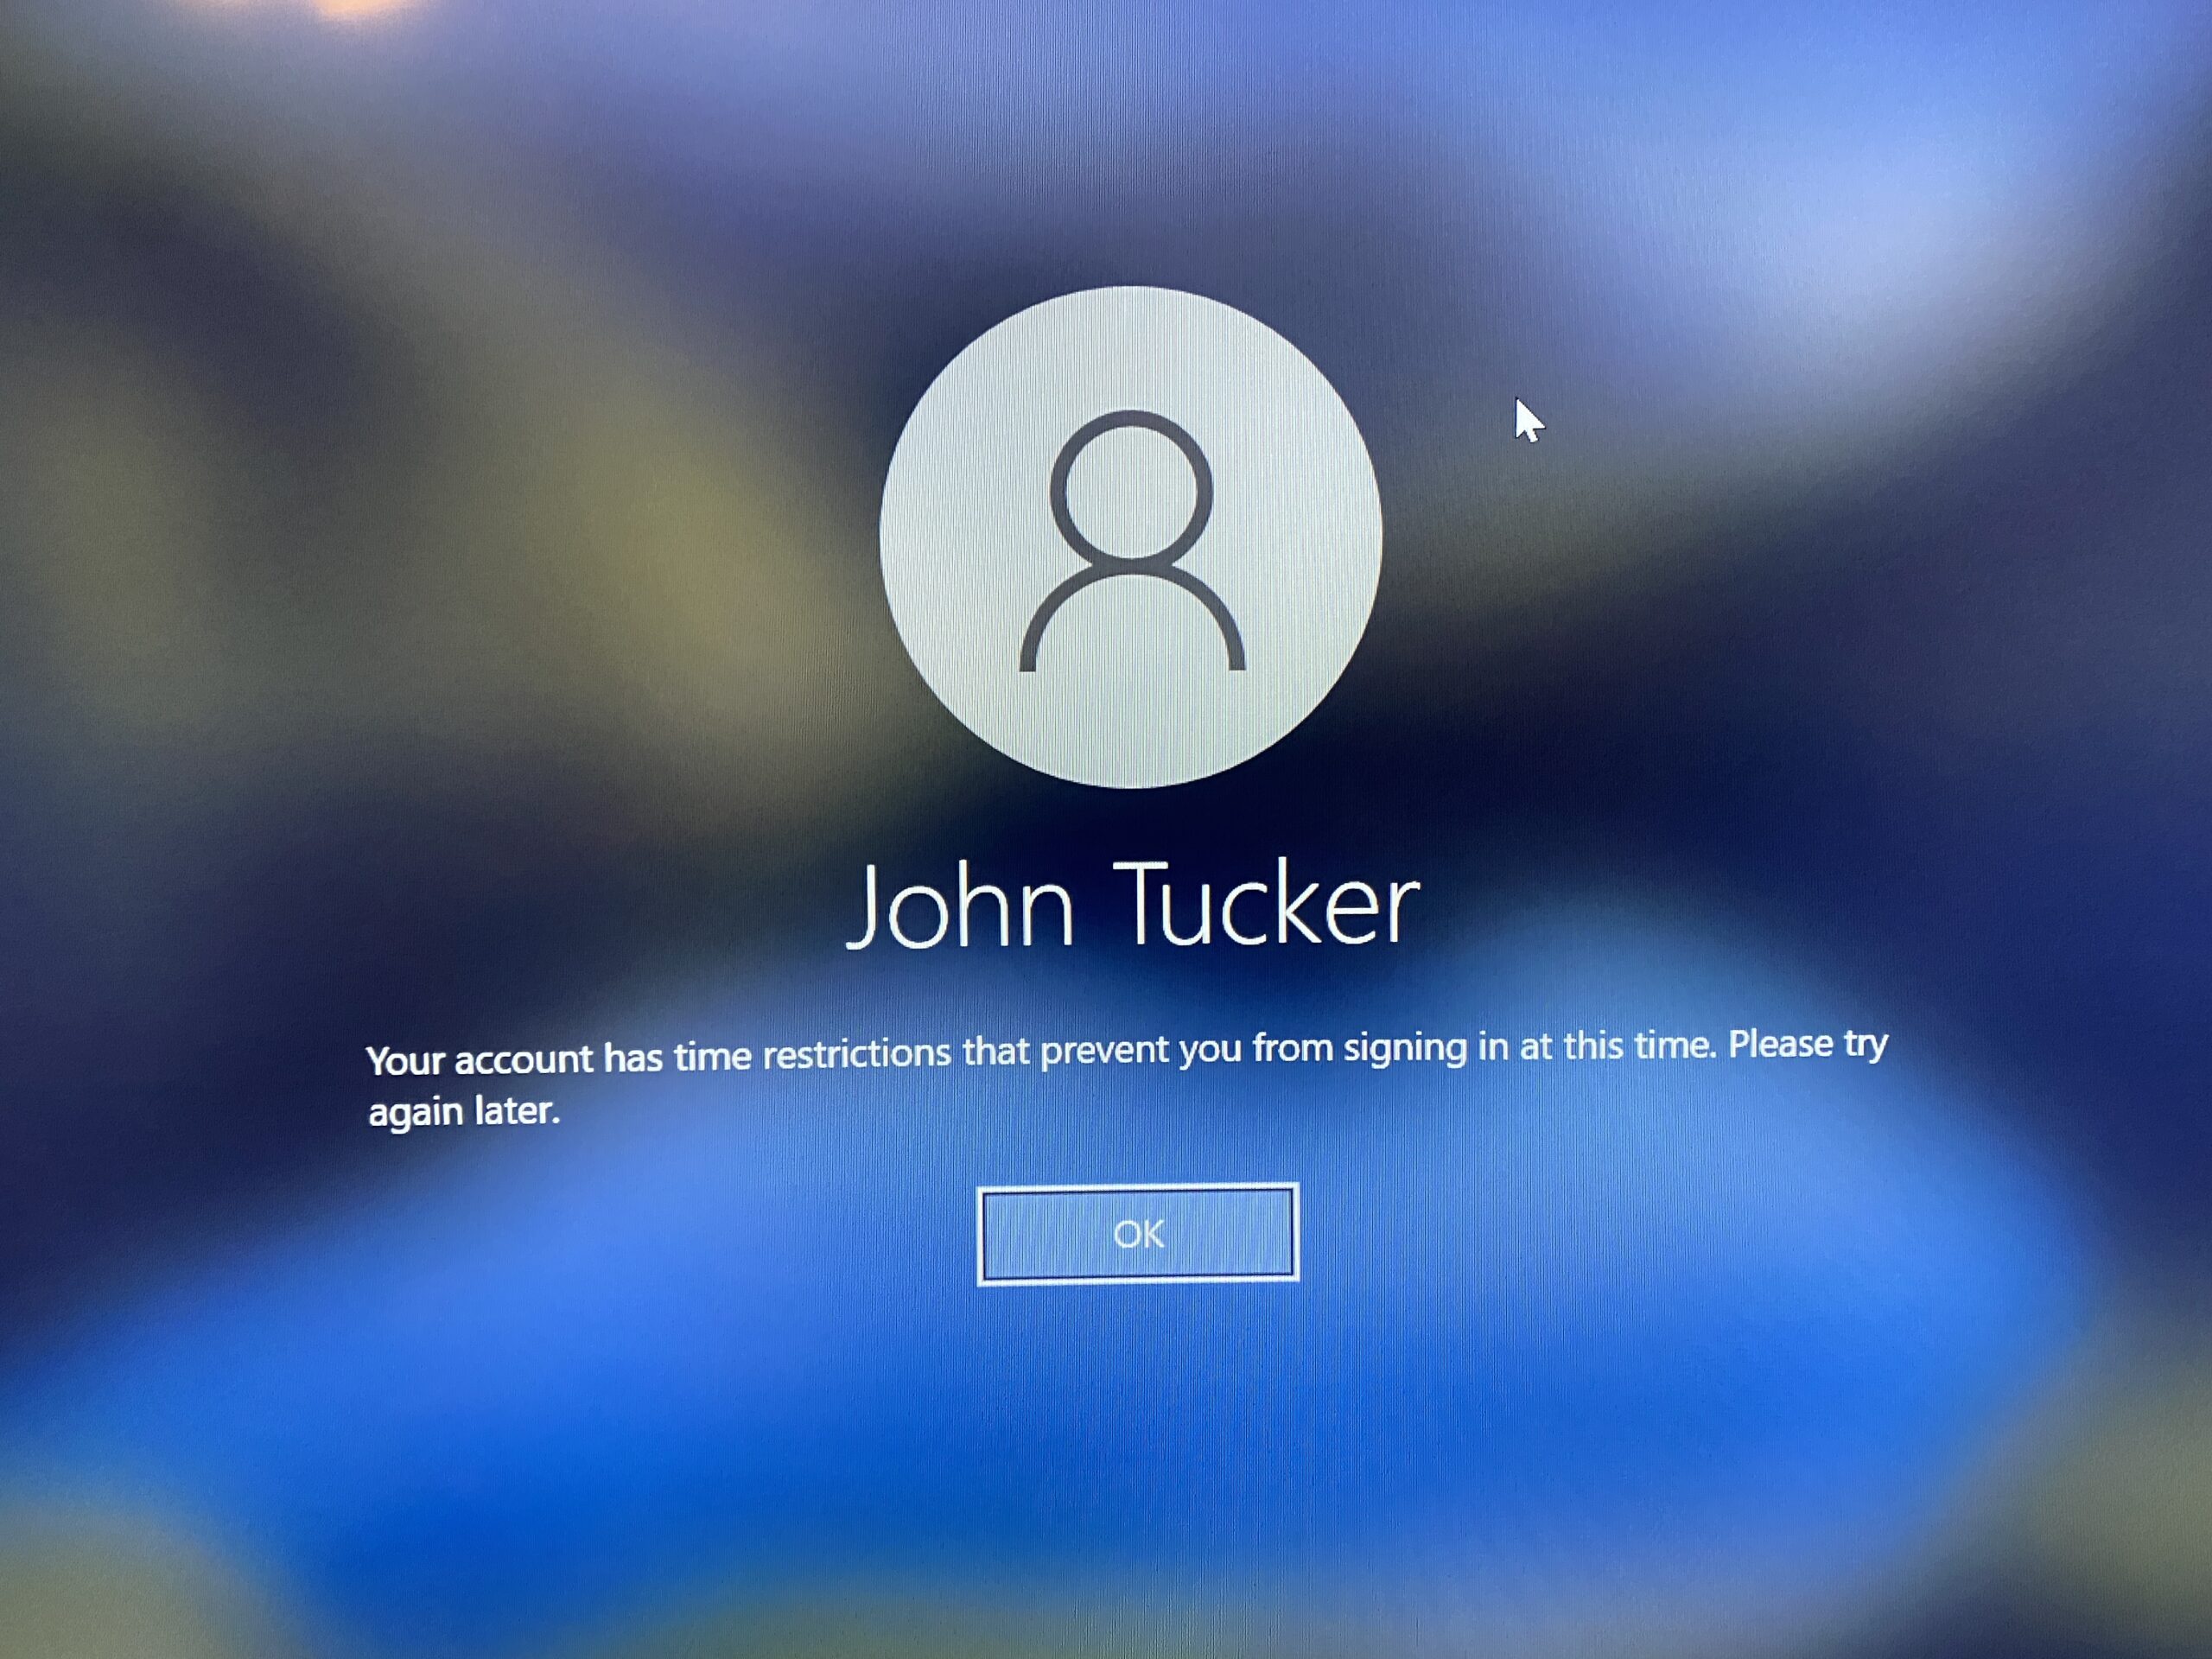
- Set up day and time restrictions
Home Lab Setup
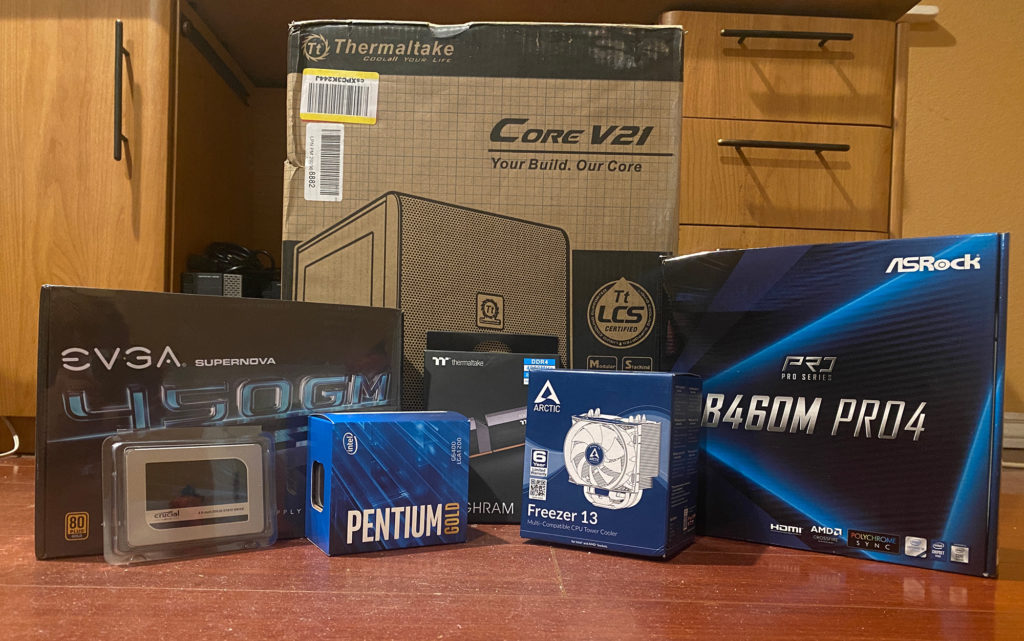
Below is all the components I have used to create my home virtualization lab. Honestly could have made it work decently with a prebuilt Dell workstation but where’s the fun in that?
The Essential Guide to Choosing Virtualization Hardware has been a great help for me when selecting the best hardware for my workstation. Check it out!
ASRock B460M Pro4 Micro ATX LGA1200

Top considerations for the motherboard is compatibility with the CPU and tower as well as the specs in regards to the RAM. This motherboard has 4 x DDR4 DIMM Slots and has a max memory of 128GB which is great for future expansion. Also, look at that nice design! Good job ASRock!
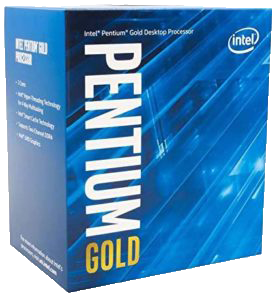
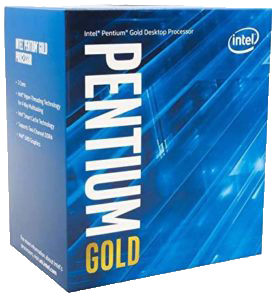
Intel Pentium Gold G6400 4 GHz Dual-Core Processor
Thermaltake TOUGHPOWER 16gb (2x8GB) DDR4-4000 CL19

RAM is definitely something I didn’t want to skimp on as it is usually the host’s first resource to be exhausted. Insufficient RAM will limit the amount of VMs I can run on my workstation. I don’t intend on running many VM’s at the same time so 16GB will work great, and if not, I still have two open slots for an upgrade or future expansion. This Thermaltake TOUGHPOWER provides the fastest memory for my budget and the design is too nice for me to look past.
Crucial MX500 1 TB 2.5″ SSD
Crucial BX500 SSD (x2)

Crucial MX500 1 TB 2.5″ SSD
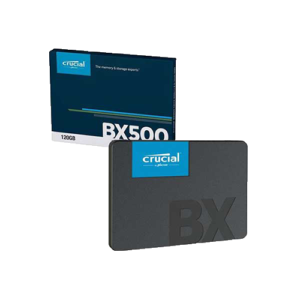
This hard drive will be used to store VMs. The MX model SSD provides higher read and write speeds that will help immensely with the VM load times. 1TB offers a vast amount of storage space for multiple VMs.
Crucial BX500 120GB 2.5″ SSD (x2)
The sole use of the first BX500 SSD is to hold the ProxMox OS for our host machine. Storage speed and space is not important.
The second BX500 SSD will be used to store the operating systems that will be later used to create the virtual machines. Storage speed and space is not important.
EVGA SuperNOVA 450 GM, 80 Plus Gold
450W, Fully Modular

Thermaltake Core v21 MicroATX Mini Tower Case
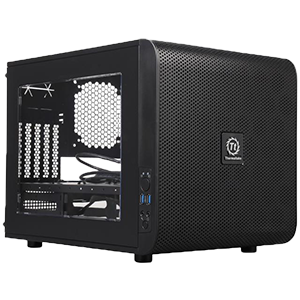
The tower most importantly needed to fit a Micro-ATX motherboard. This tower checked off that box and has a very unique design that I really enjoyed.
Proxmox Virtual Environment

Proxmox virtual environment is a type 1 hypervisor that I will be using to manage my virtual machines. The fact that Proxmox, is entirely free, not like other products (ESXi), is the leading reason why I chose it as my virtual management solution.
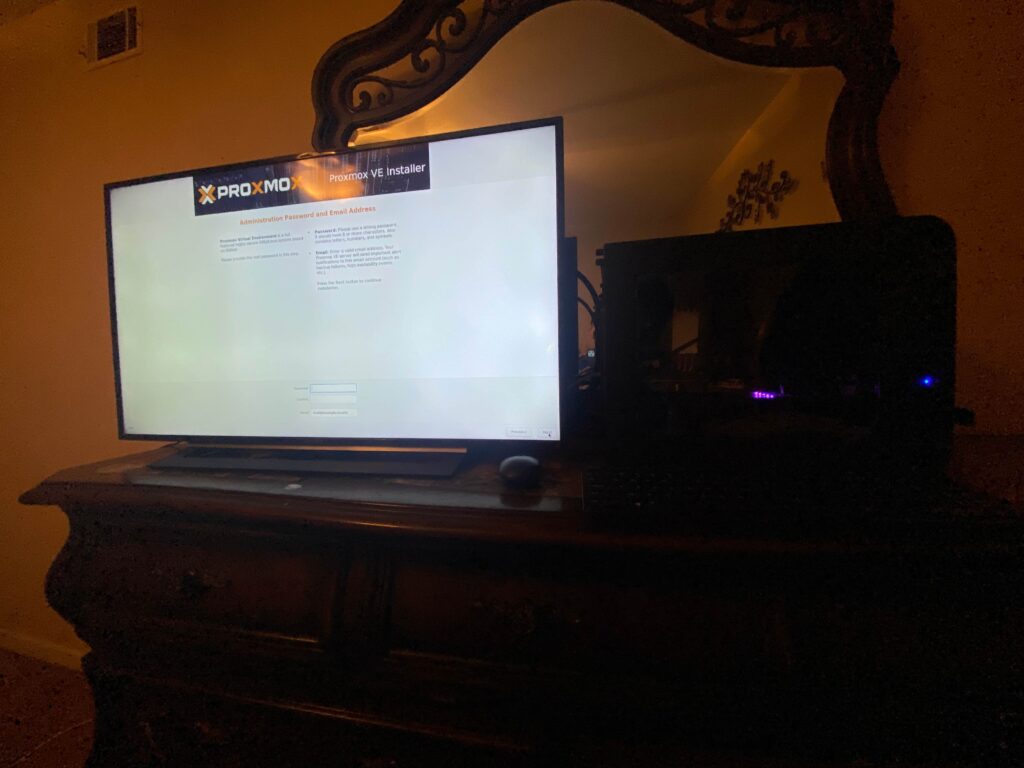
ProxMox Virtualizaion
Installation and Setup
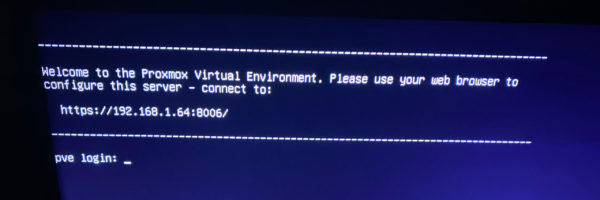
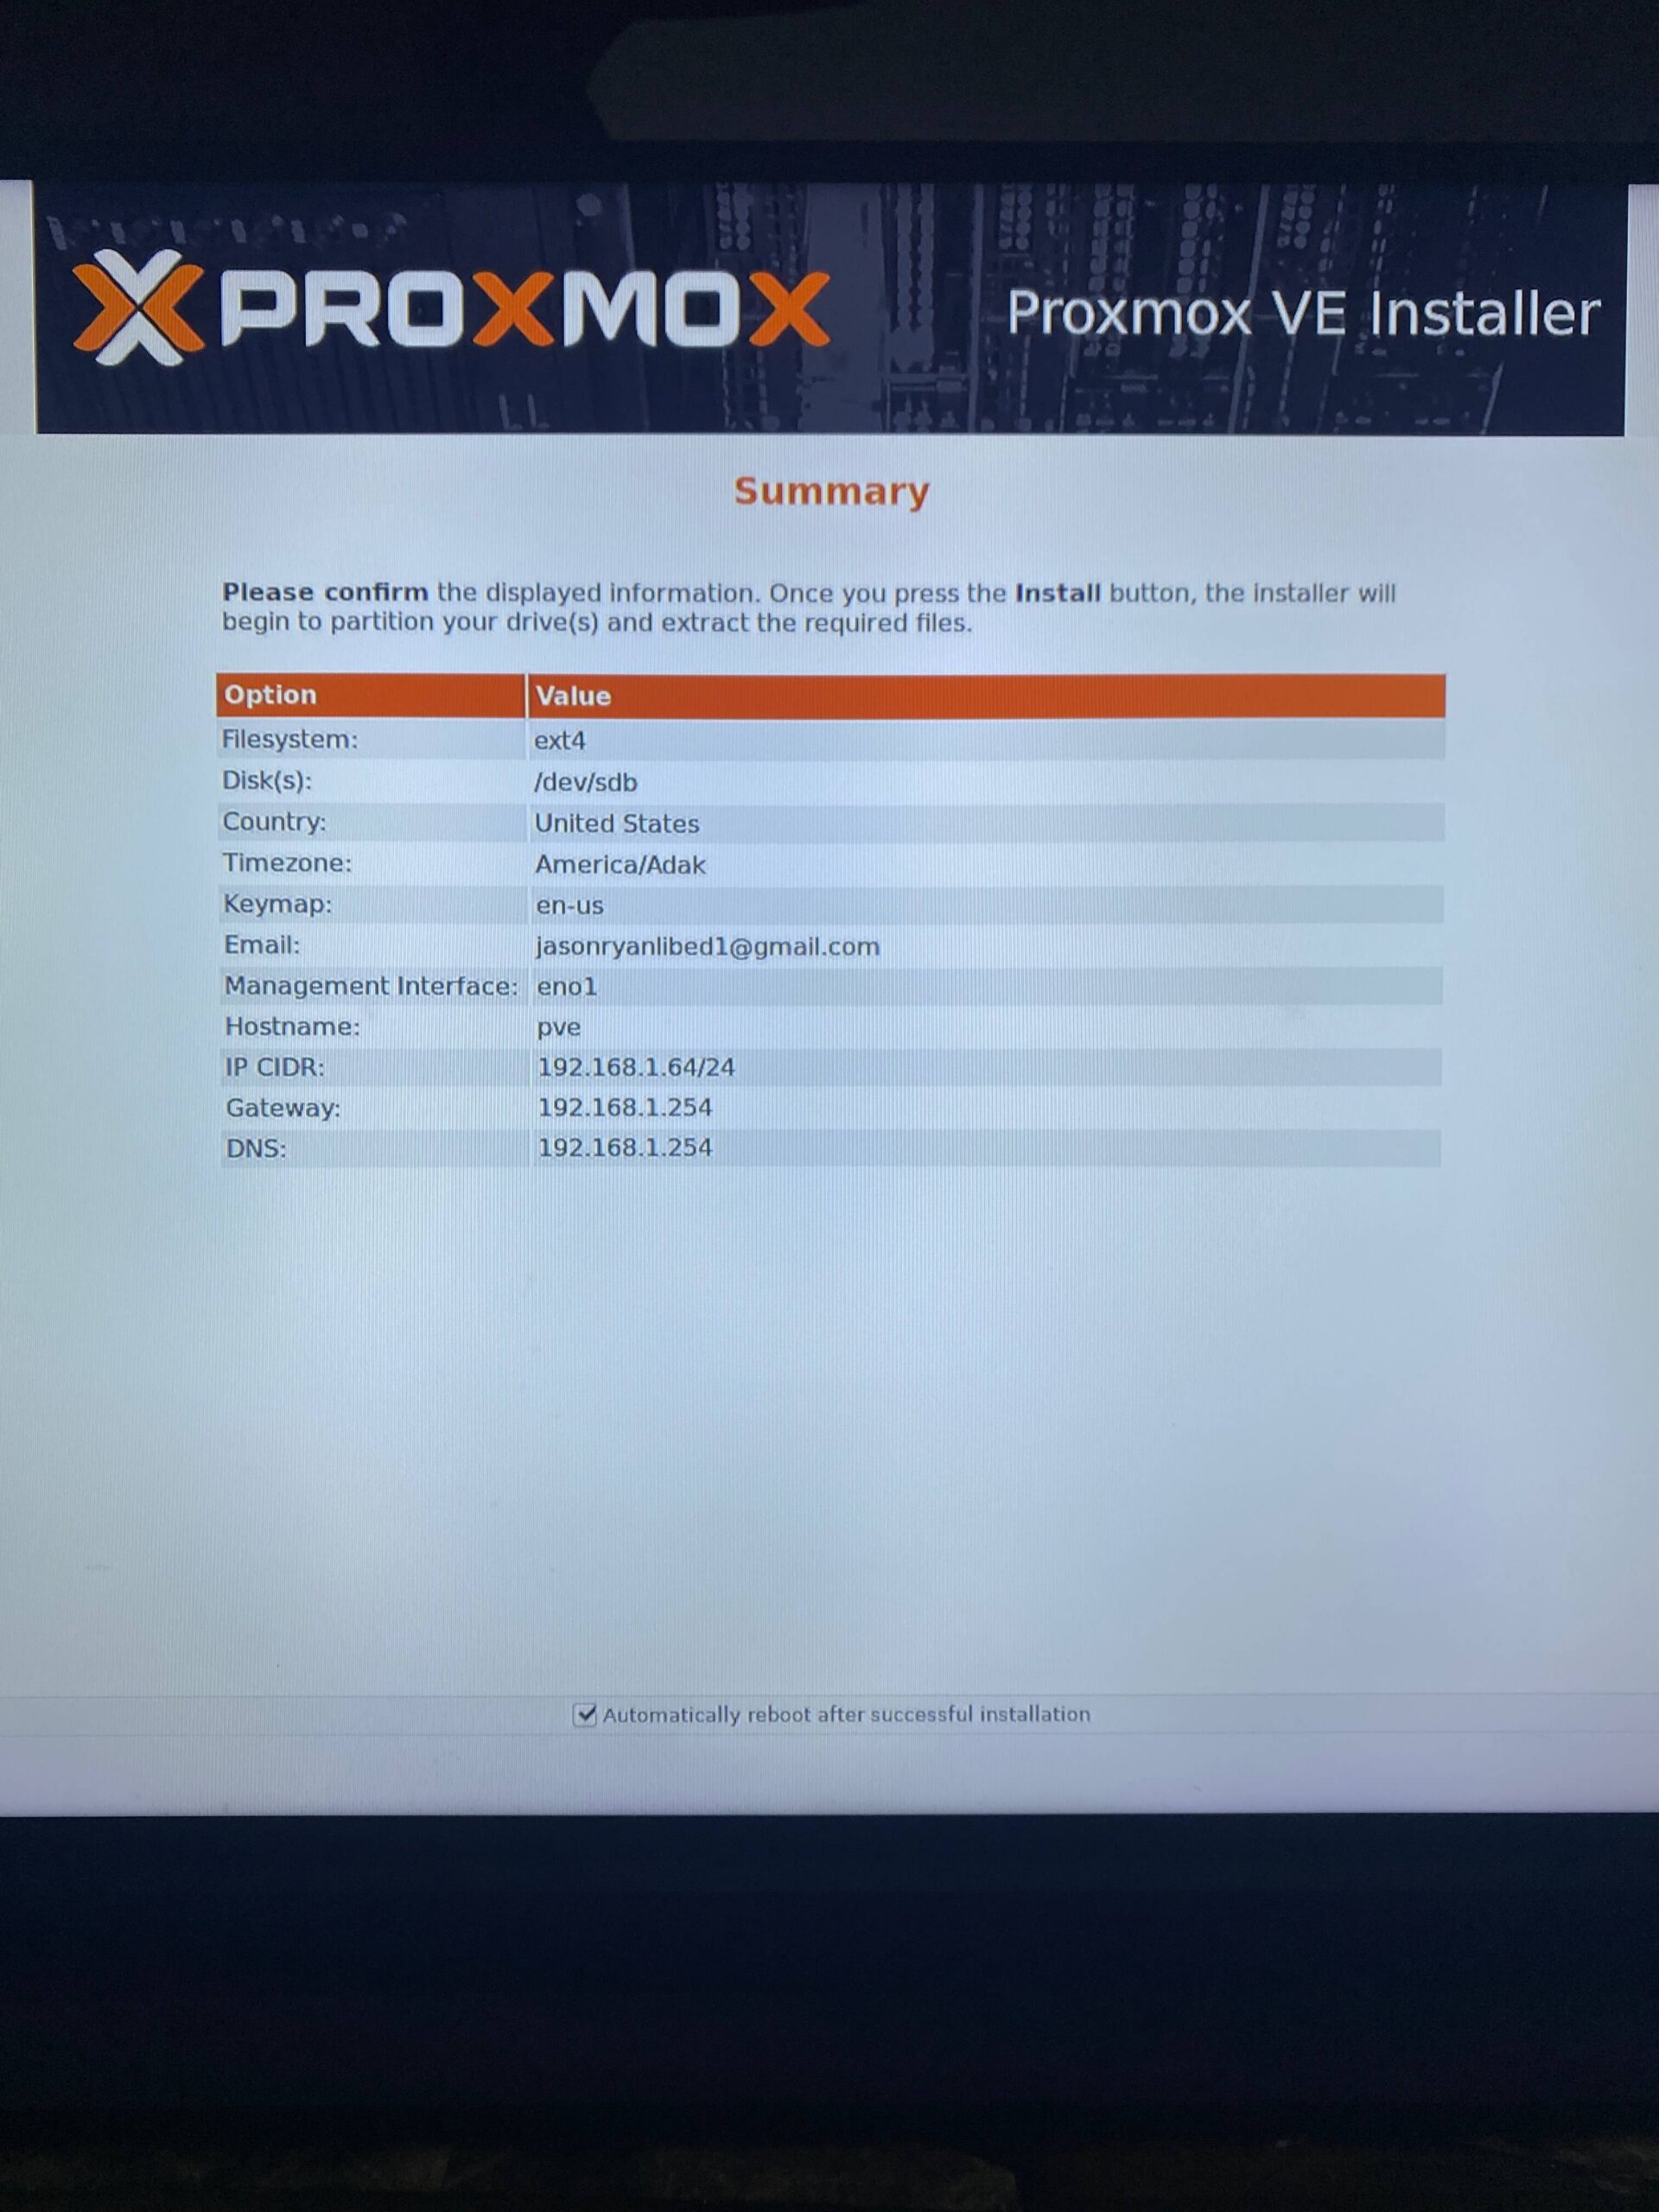
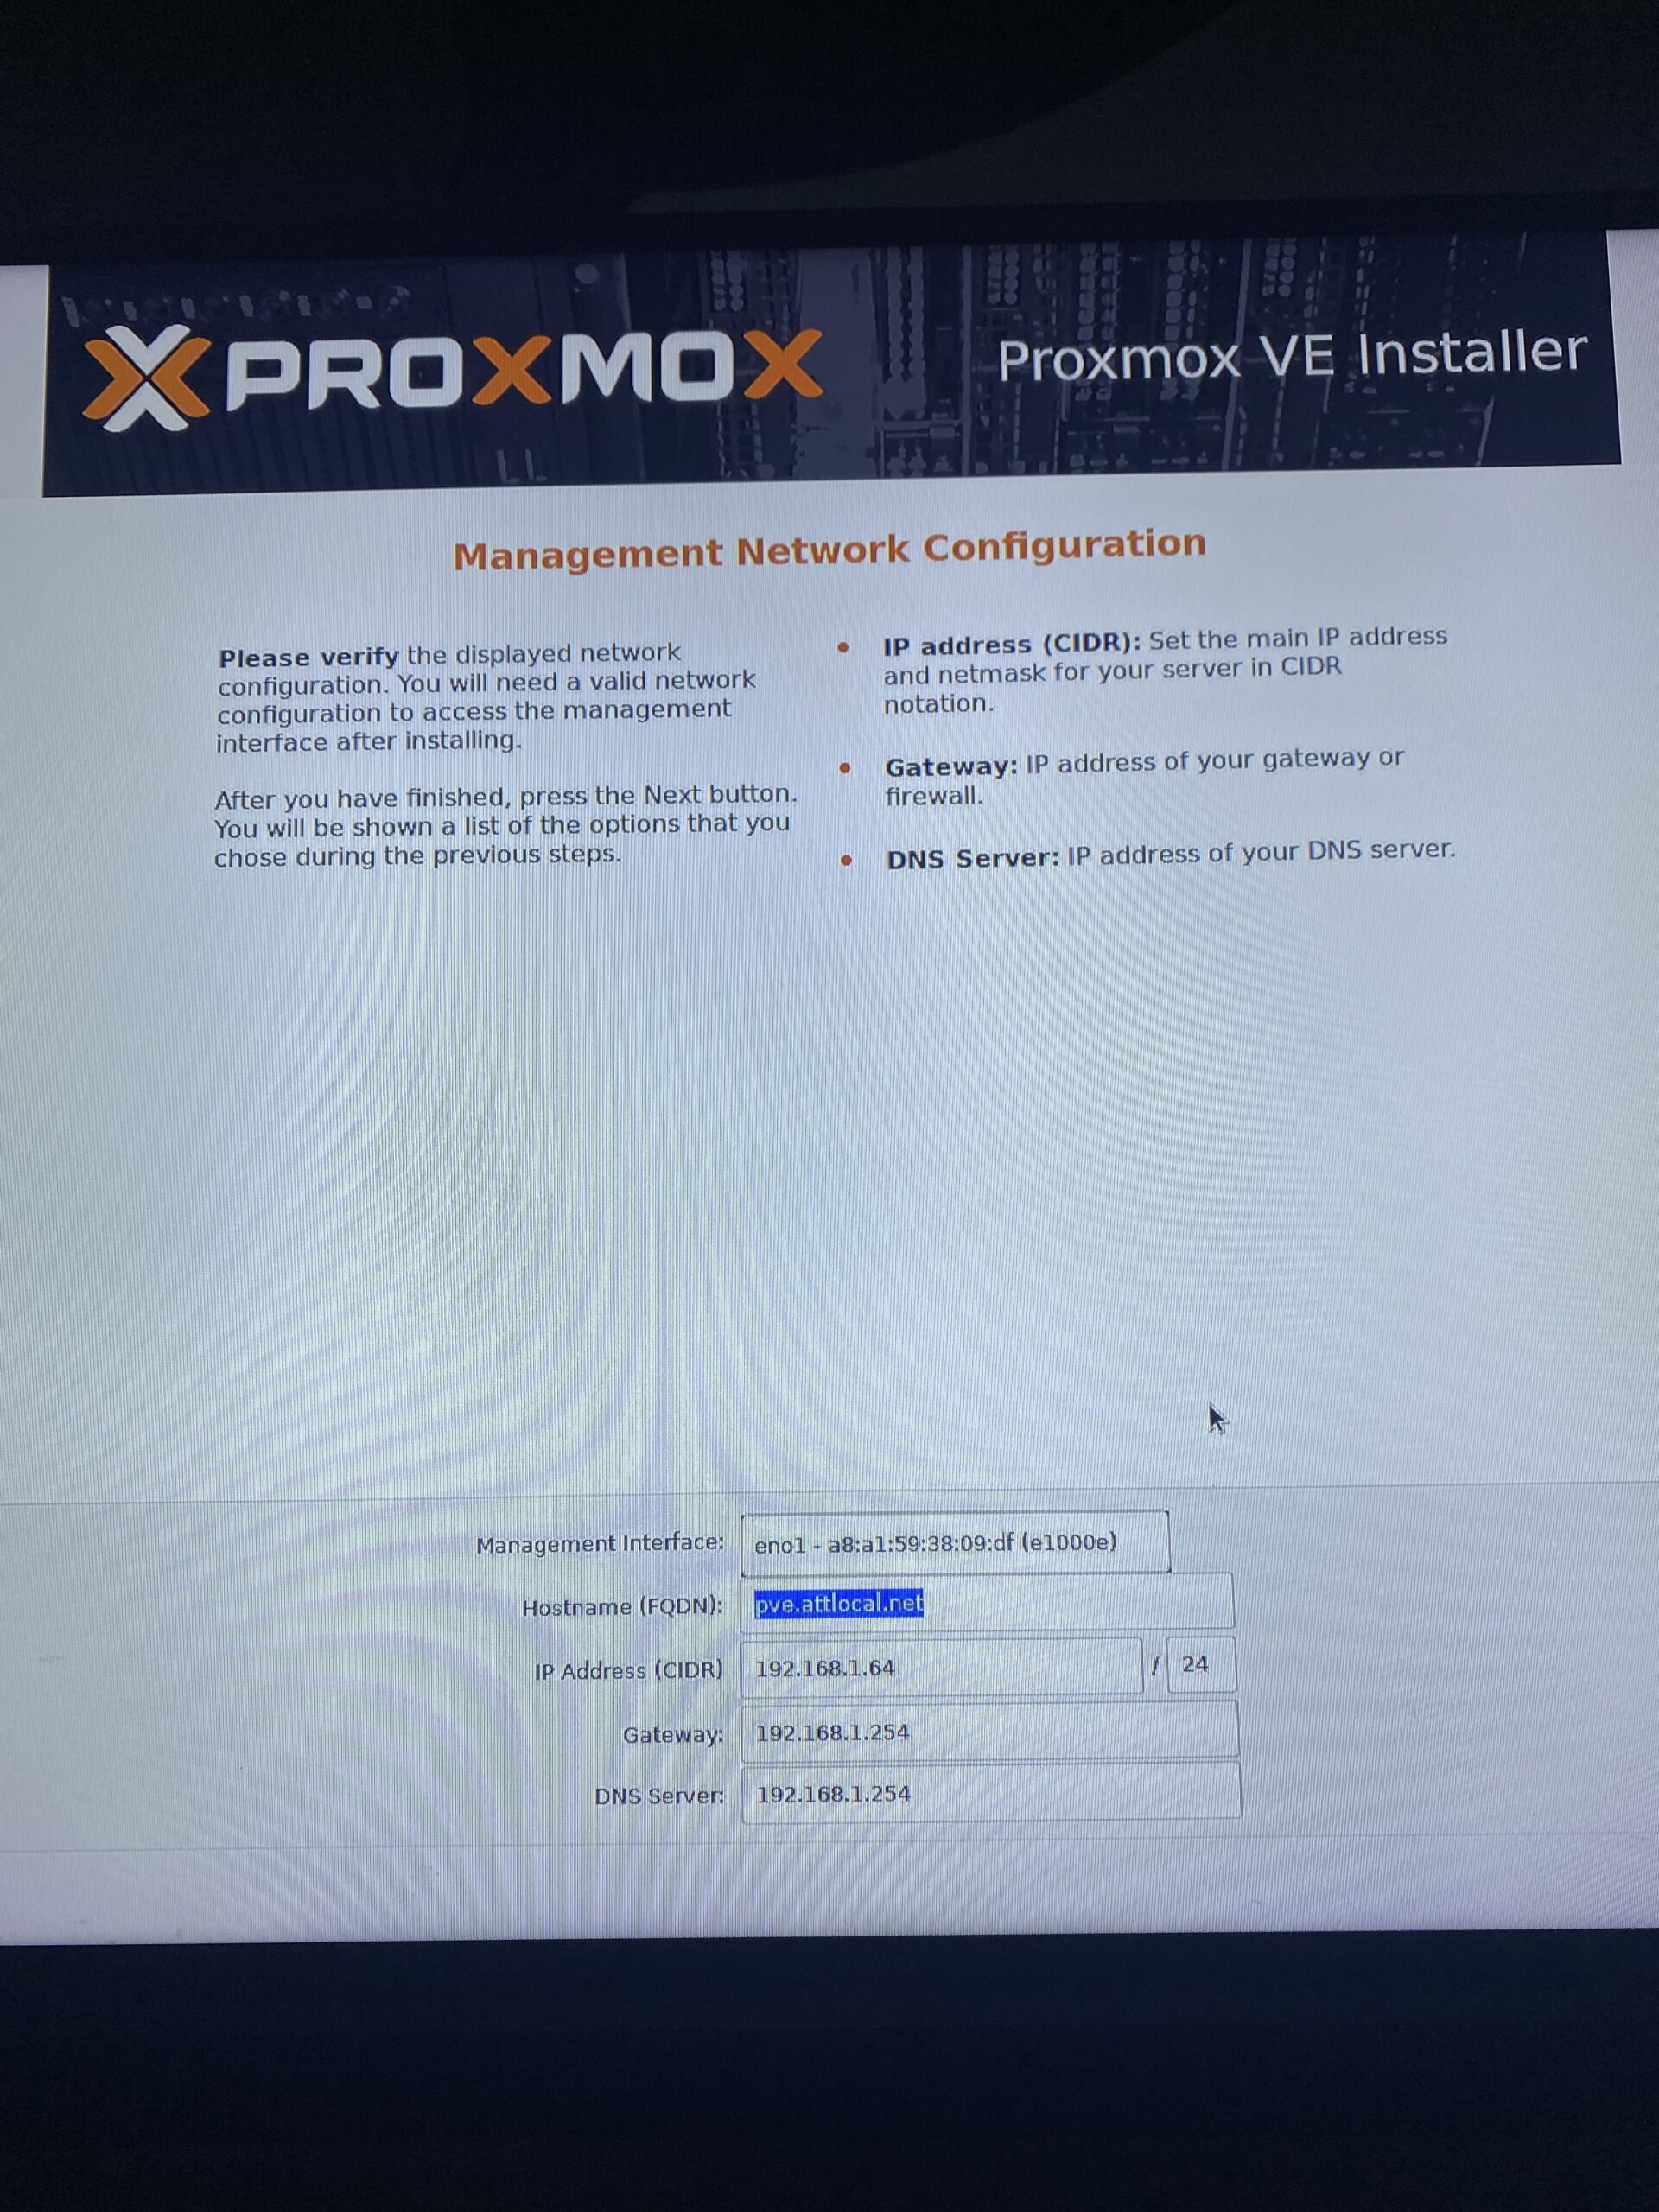
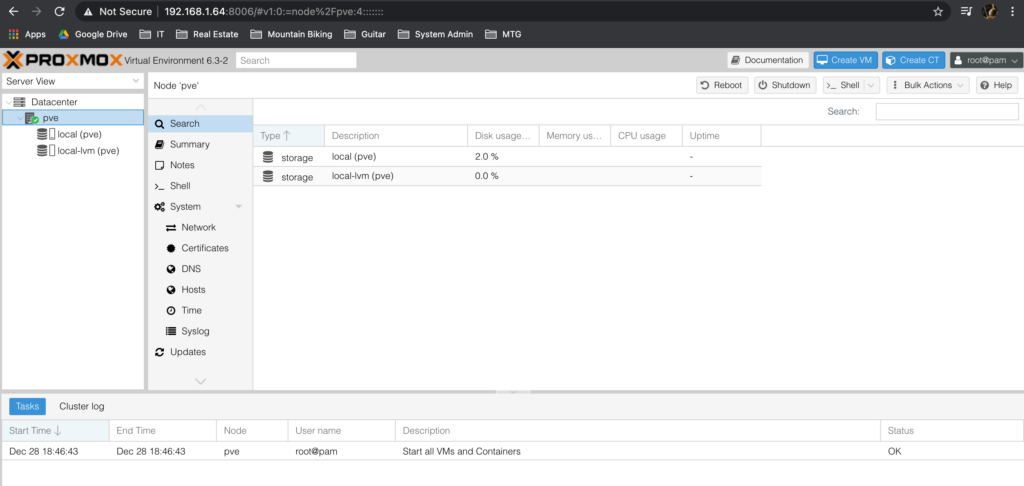
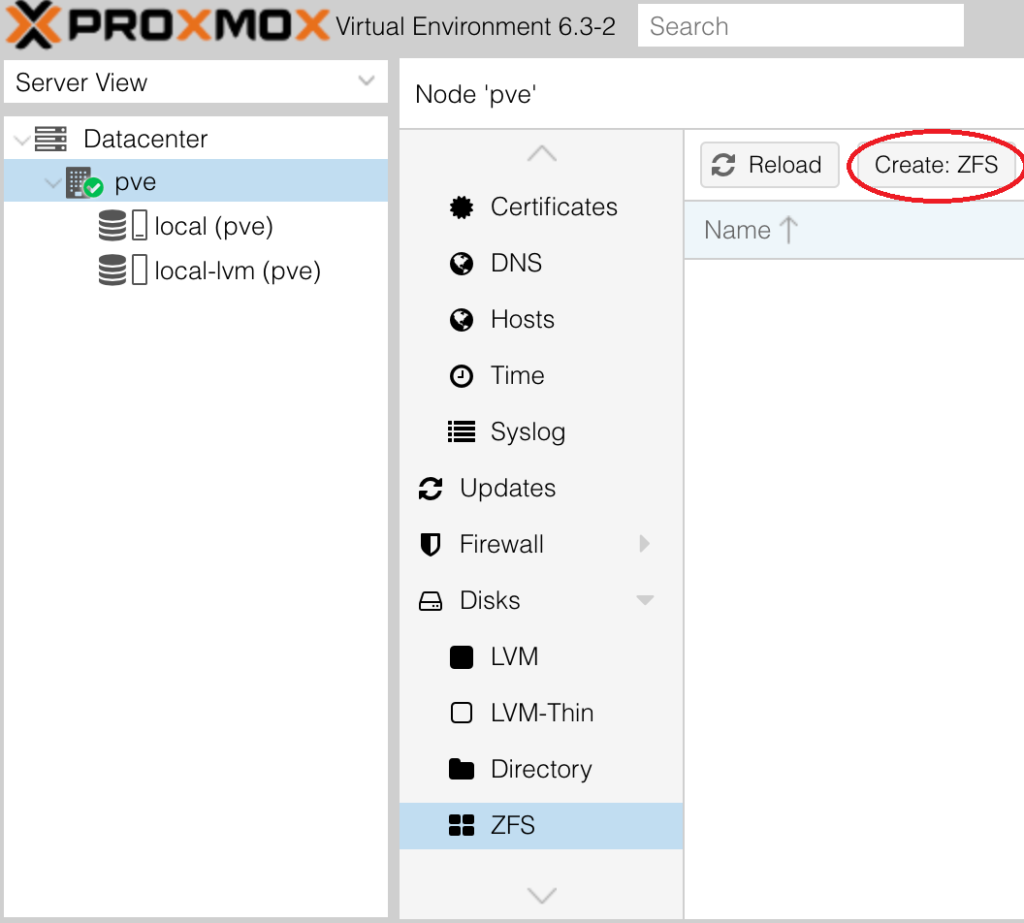
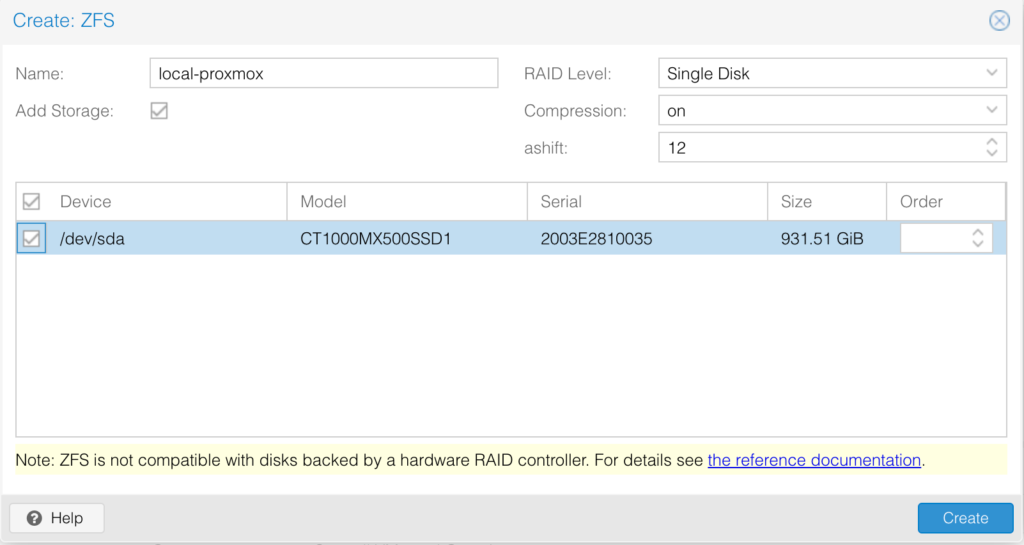
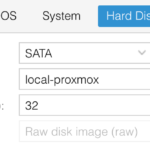
ZFS is the file system we are going to use on the the hypervisor level to store our VM images. Usually files systems are constructed on top of a single device. ZFS aggregates devices into a storage pool which allows the devices to share disk space will all file systems in the pool.
I have created a ZFS under the MX500 1TB hard drive. I called it “local-proxmox”
Hard drives have been configured for the following
MX500 1TB SSD – Store Virtual Images
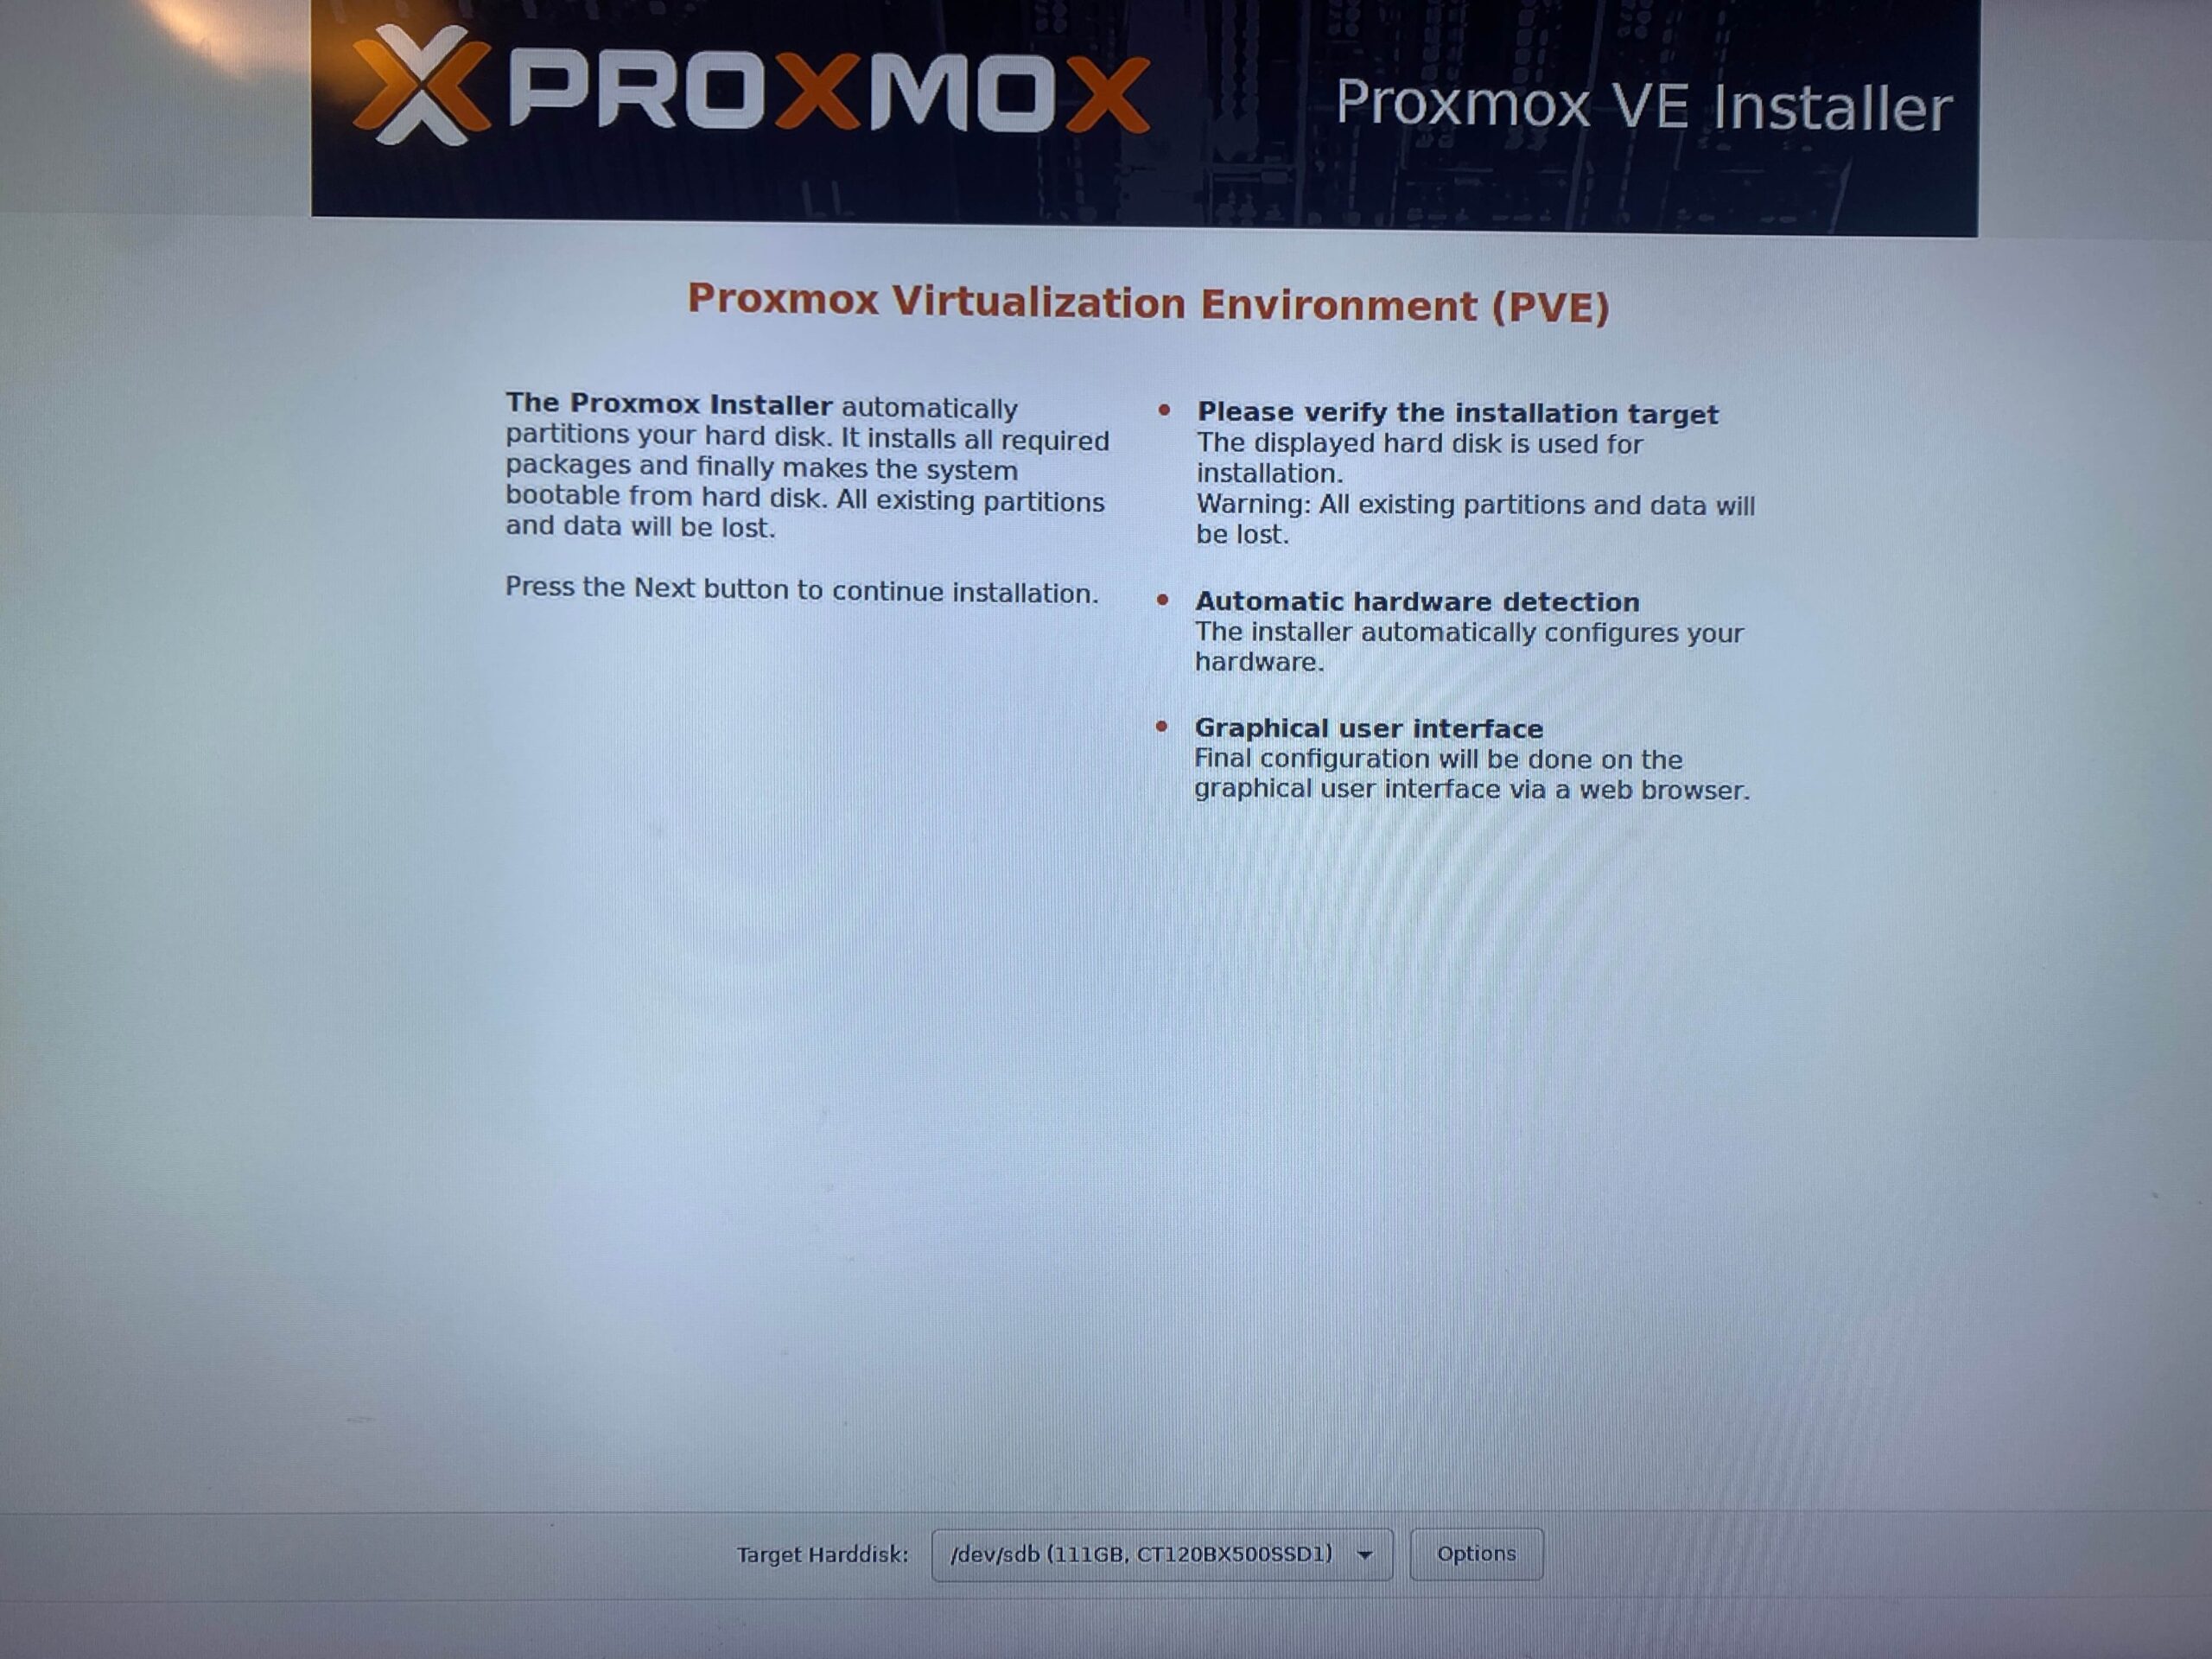
BX500 120GB SSD – Store ProxMox OS
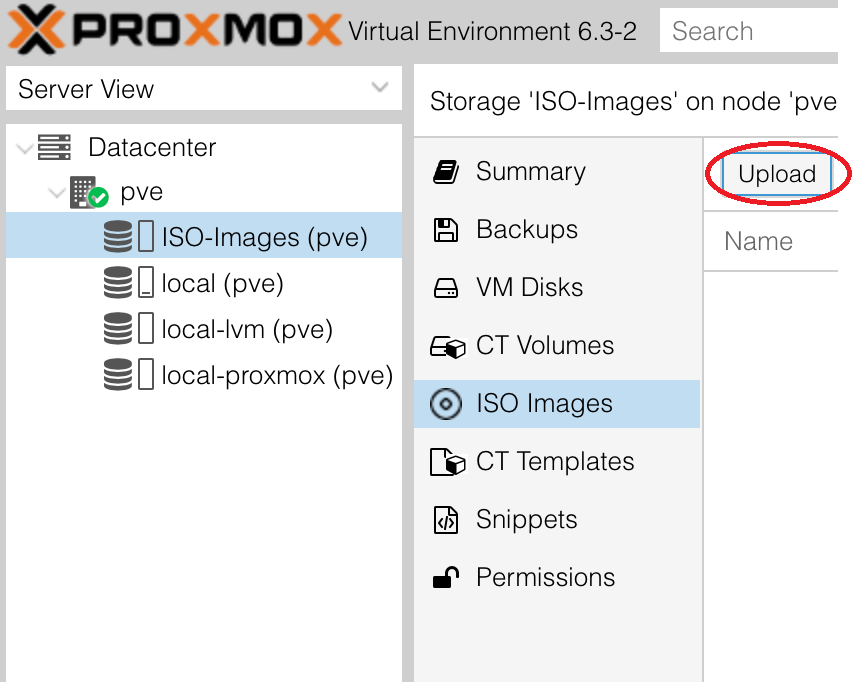
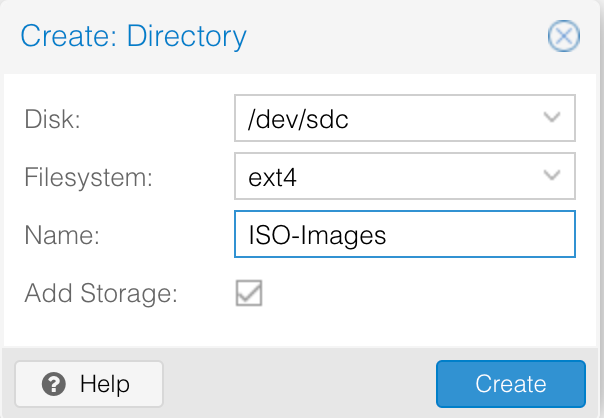
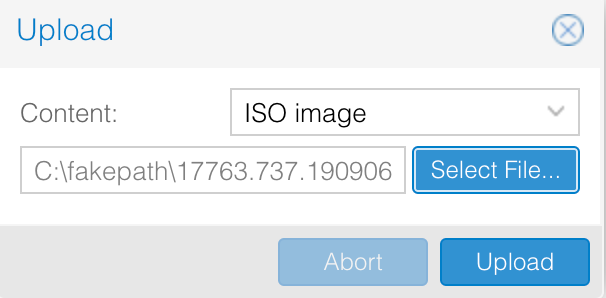
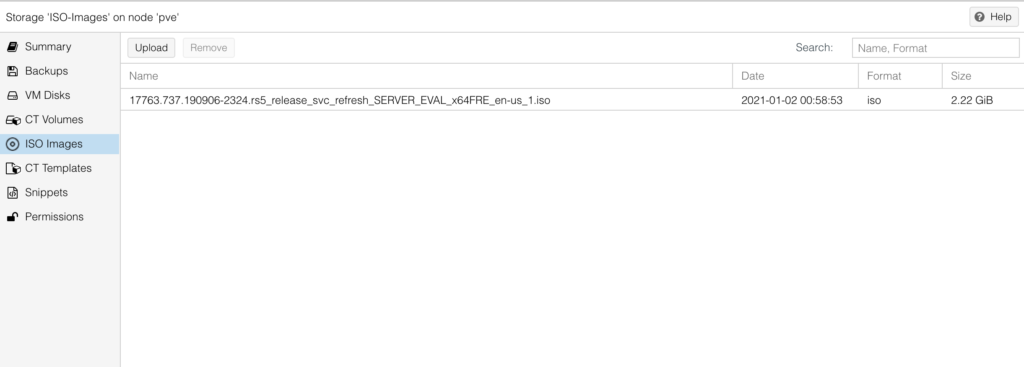
BX500 120GB SSD – Store ISO files for VMs
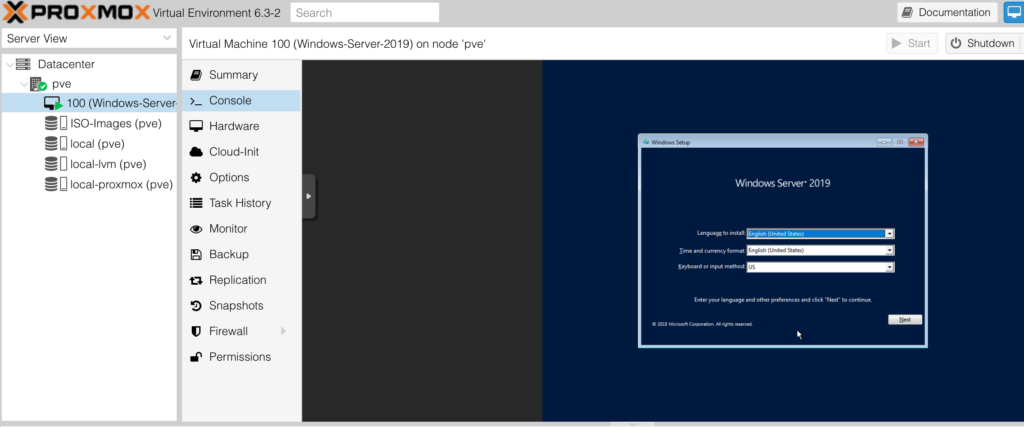
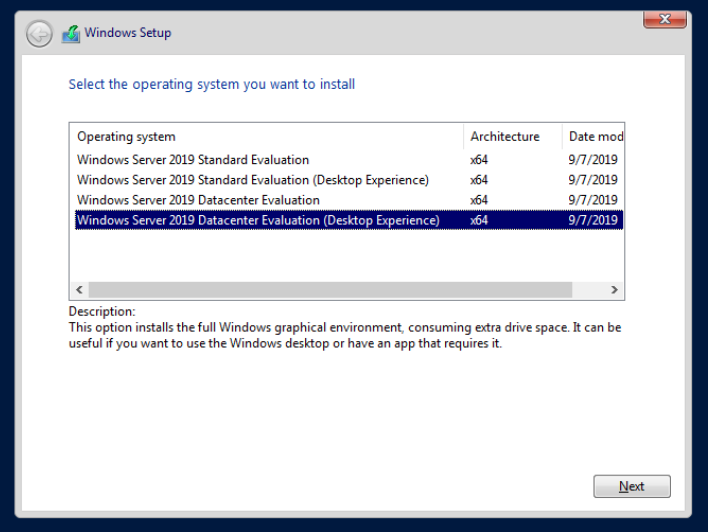
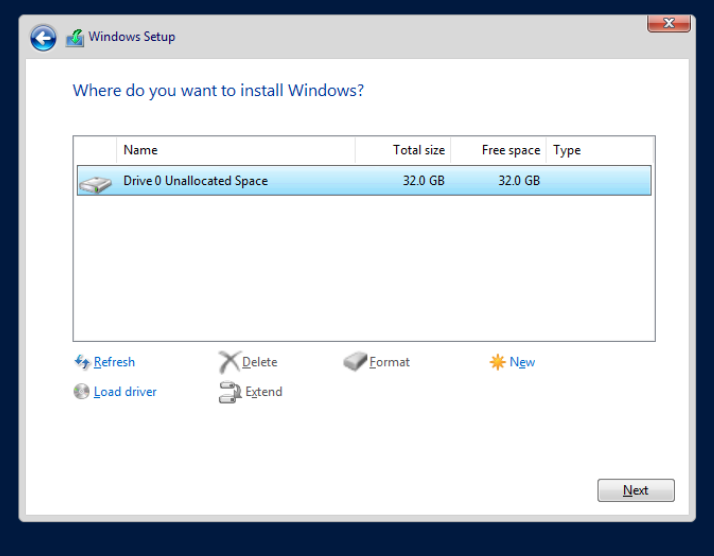
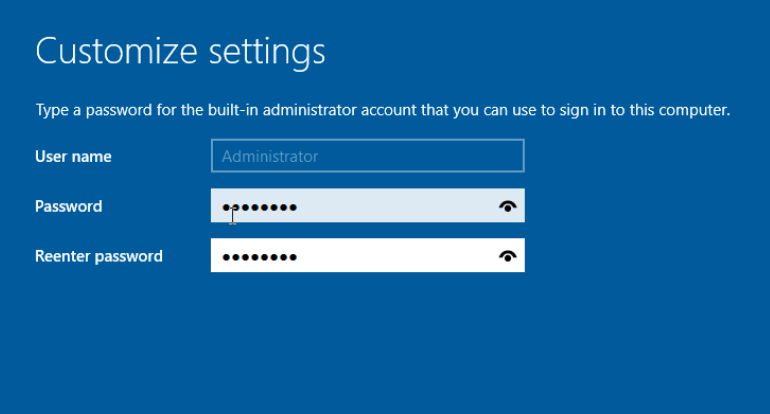
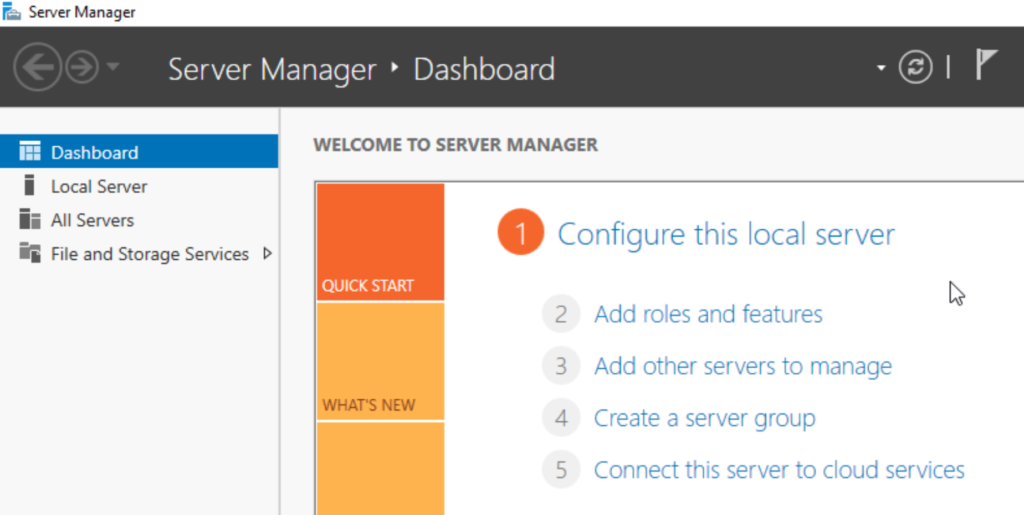
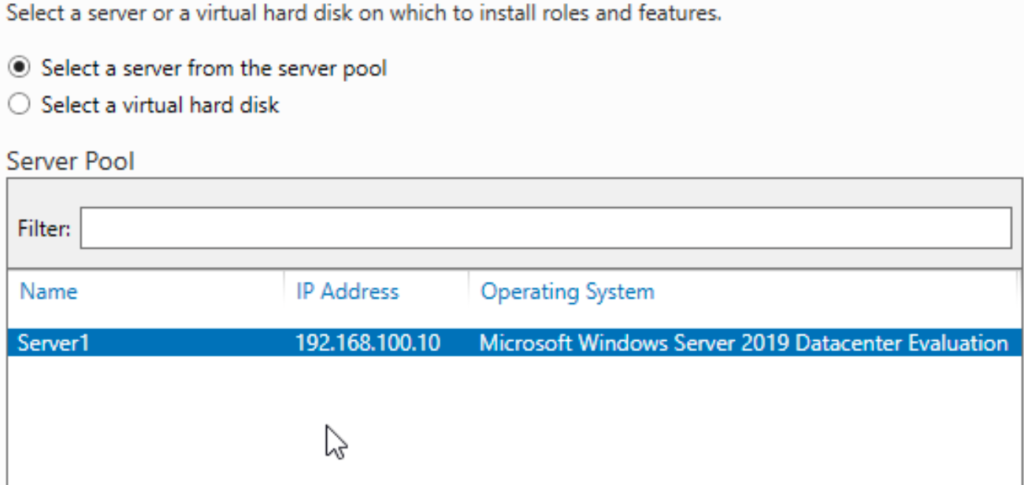
Windows Server 2019
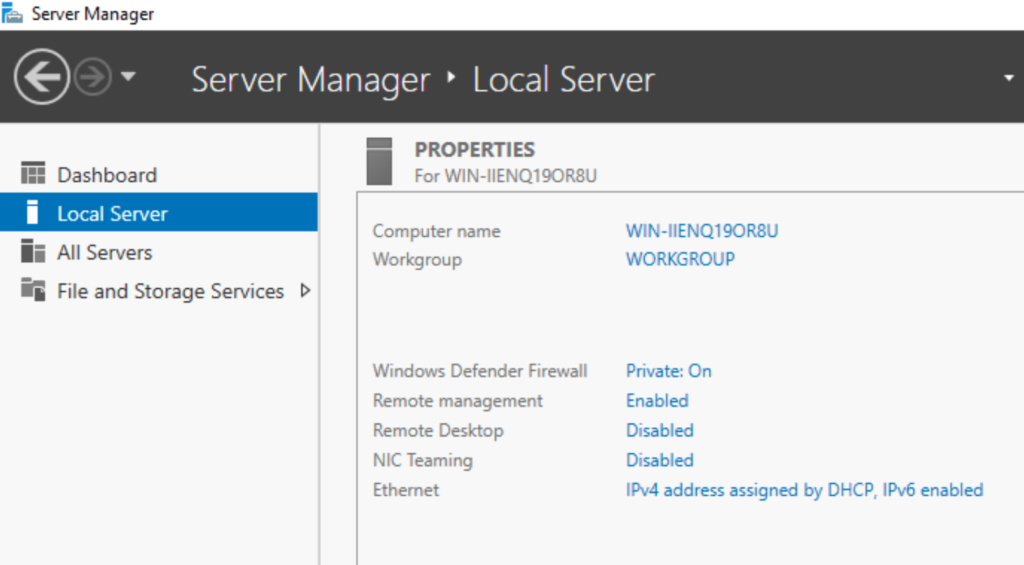
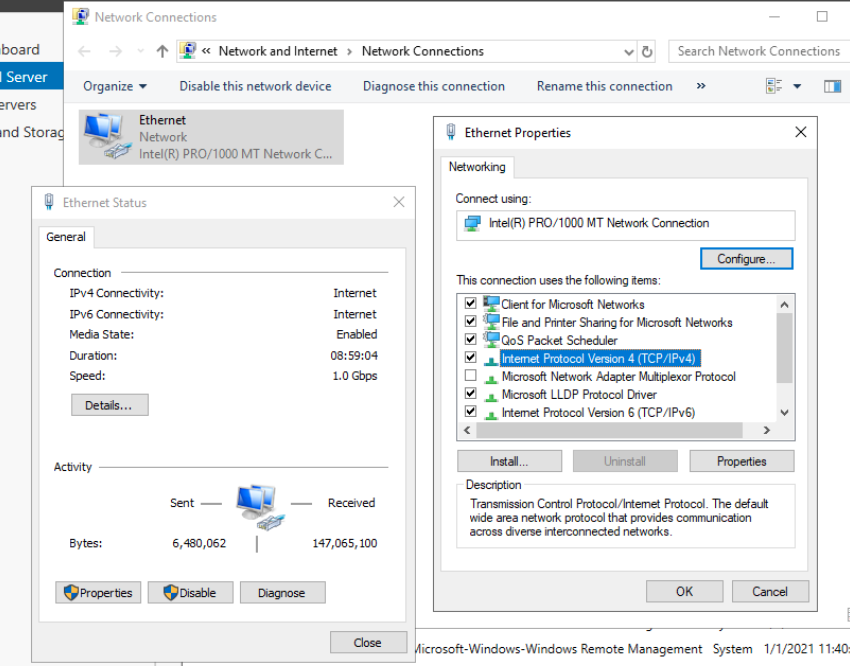
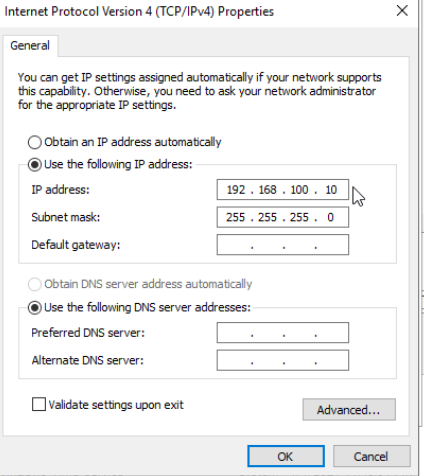
Server IP set to 192.168.100.10
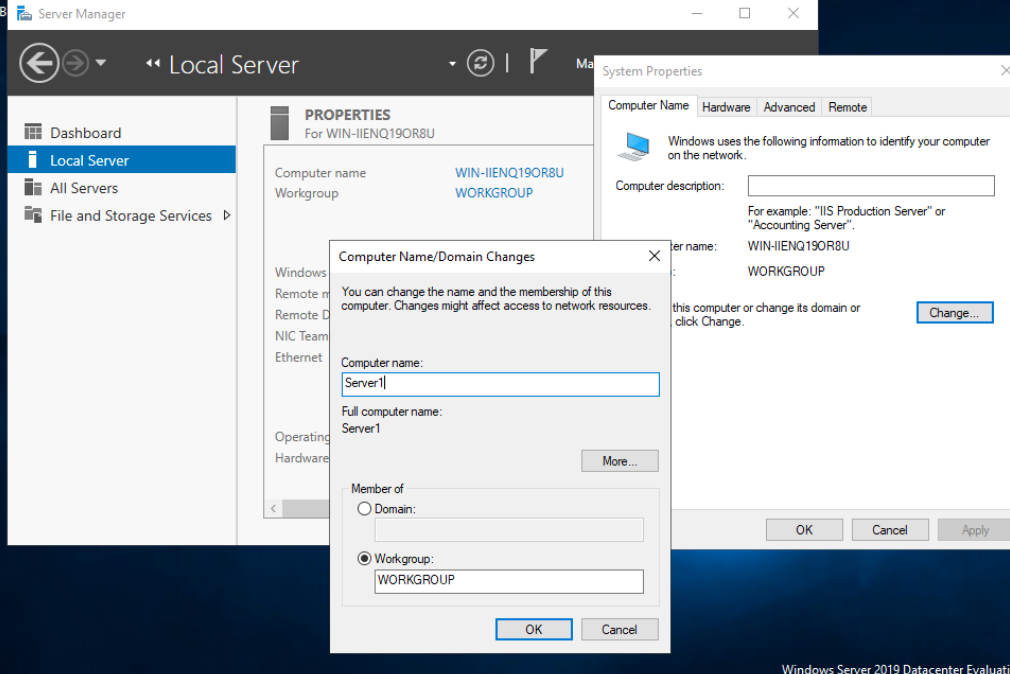
Server Name set to “Server 1”
Using a static IP address is best for documentation and management (ex. firewall rules). Static IP addresses allows the server to have its own set IP address rather than depending on a DHCP server to provide one. This lessens the possibility of a server outage due to a failing DHCP server.
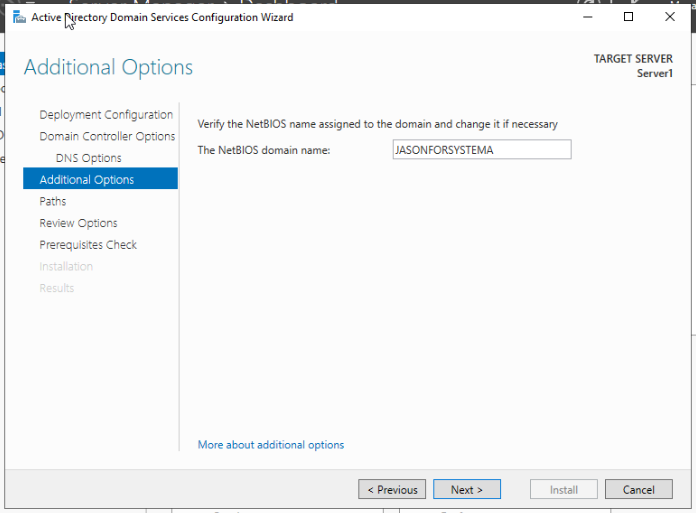
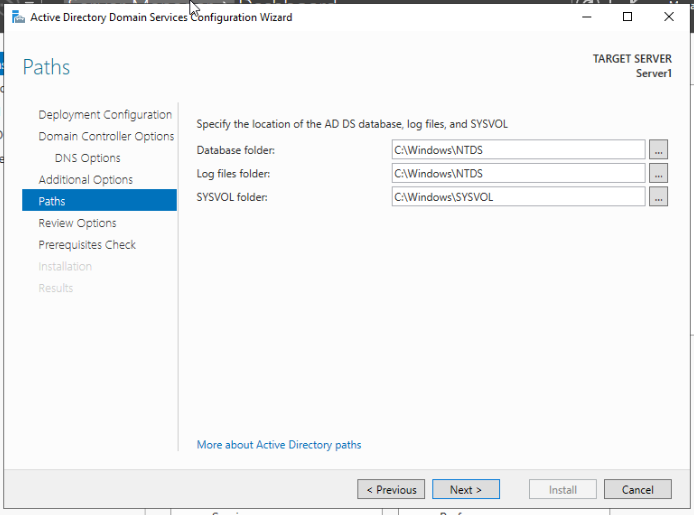
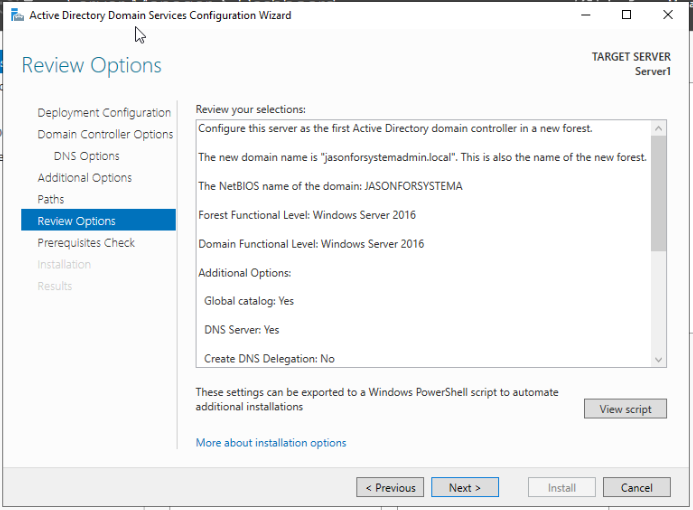
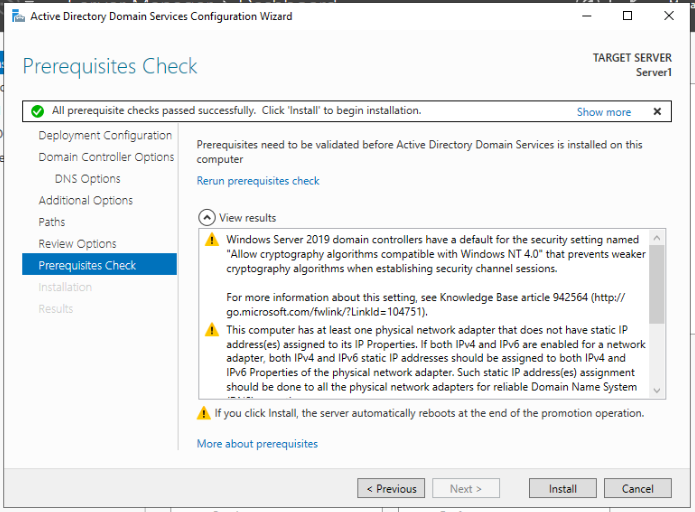
Rather than configuring each individual workstation and their users, we create a domain and centralize all settings on one server. The creation and management of domain users and computers on the
domain are managed by Active Directory (AD).
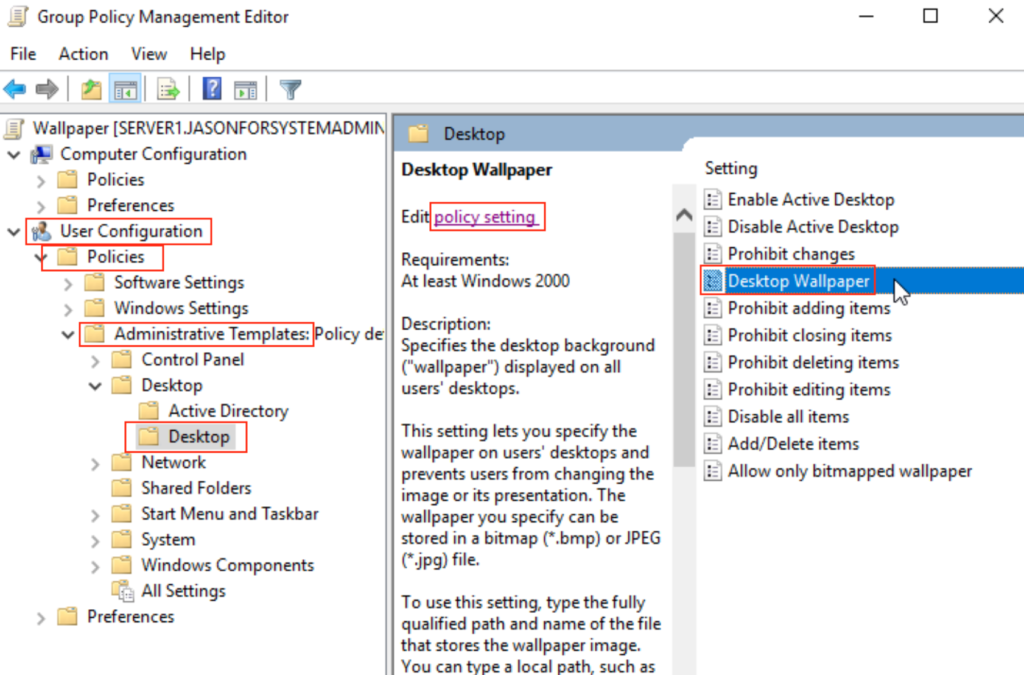
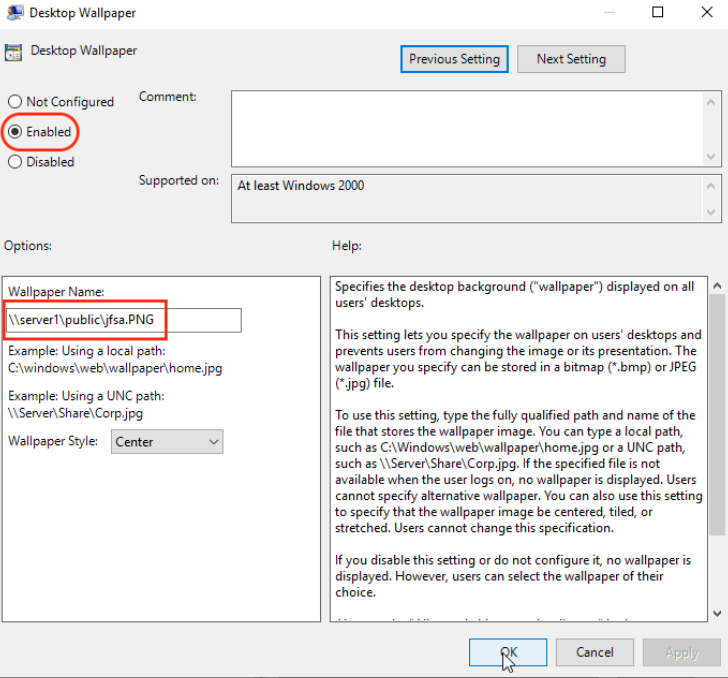
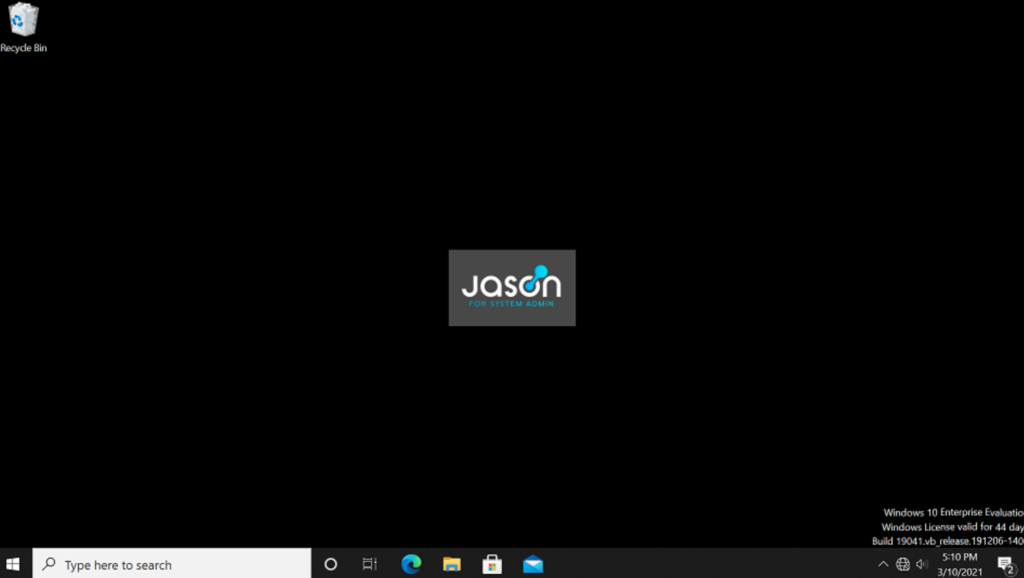
You can configure anything from desktop wall paper to who can access a domain workstation at what time using Active Directory.

We are now logging in as a JASONFORSYSTEMA domain administrator rather than a local administrator!
Windows-10-Enterprise


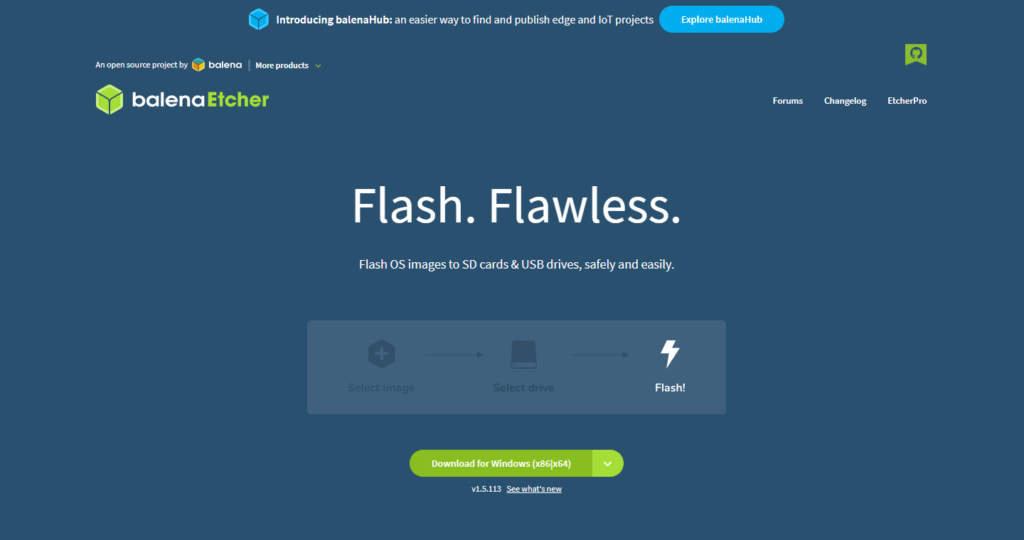
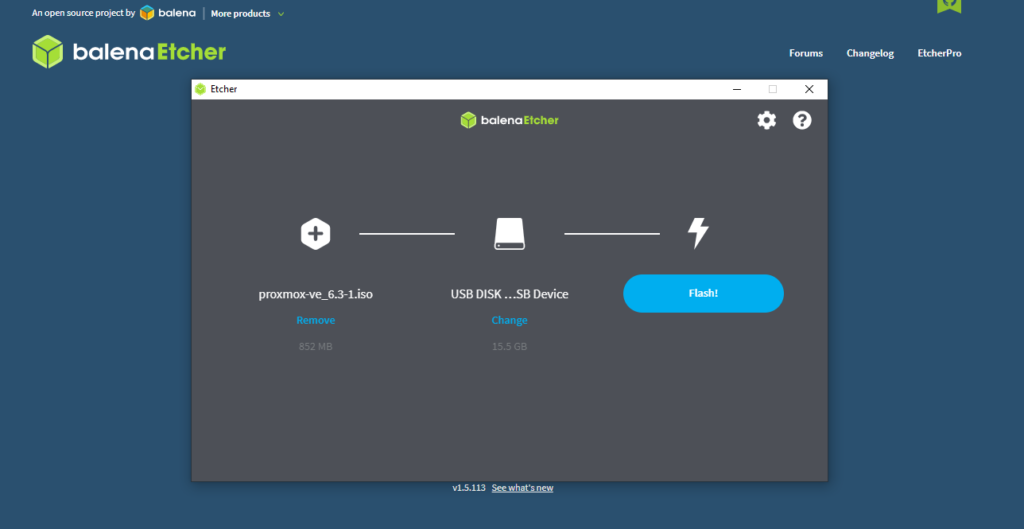
To install Windows 10 Enterprise, I have taken a similar approach to the ProxMox installation and I flashed the Windows 10 ISO file to a USB drive and booted off the drive.
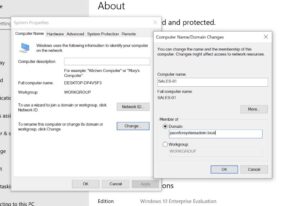
Before we add this workstation to the domain, we have to make sure there is communication between the server and the client computer.
To do this, I have set the client workstation with an IP address of 192.168.100.50, So that it is in the same network as the server.
I have also set the preferred DNS as 192.168.100.10 (our server IP) so that when I enter the domain name into the client workstation, it knows to what IP that name resolves to.
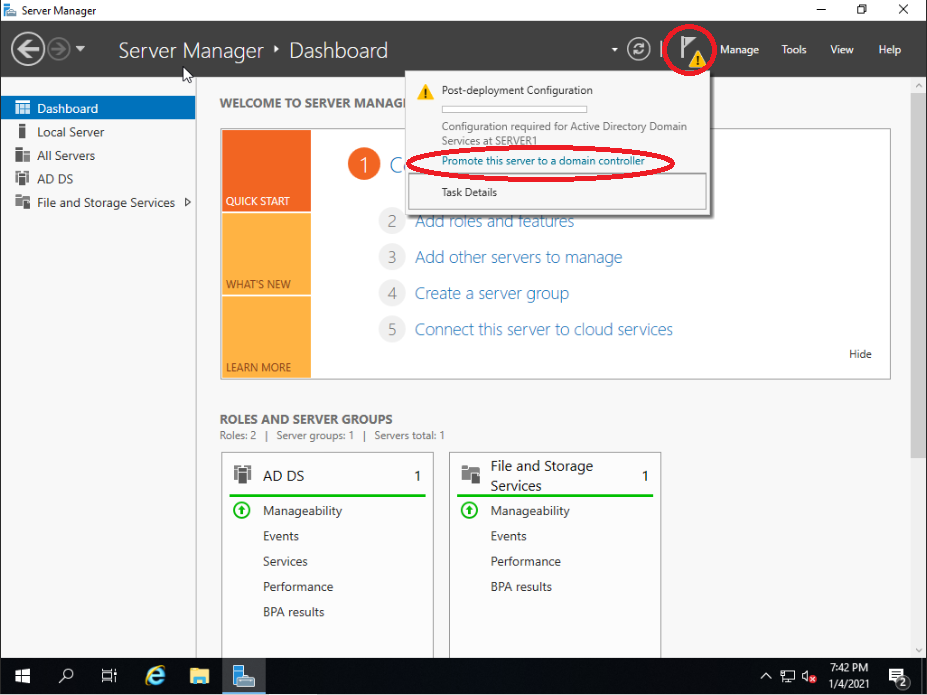
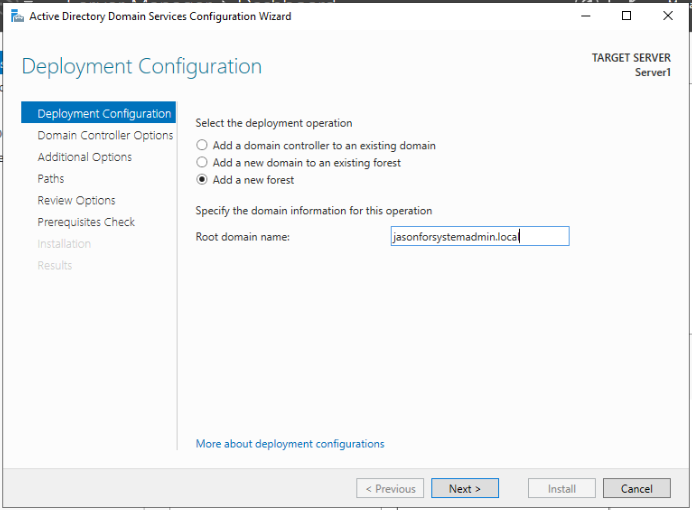
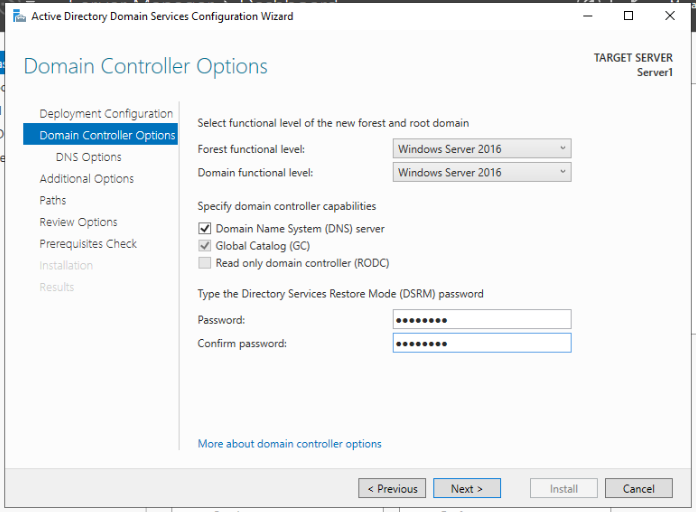
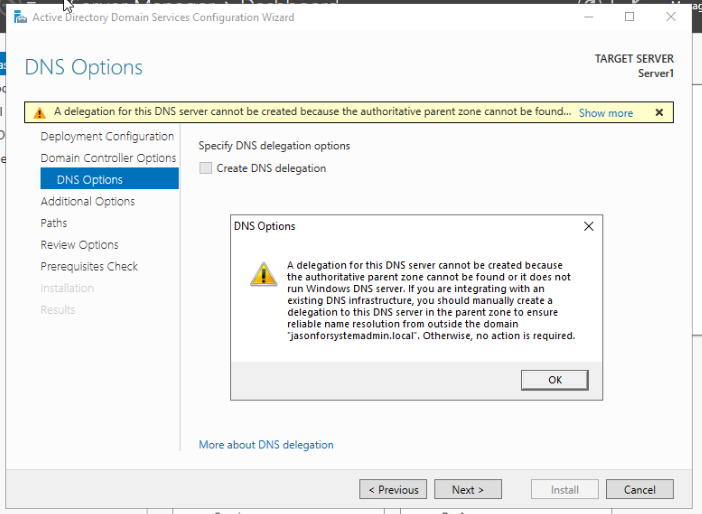
*By default, when we installed Active Directory on the server, it is also prompted as the DNS server.
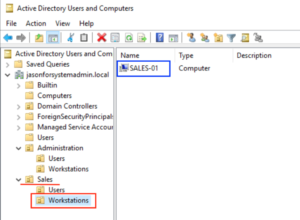
The recently added workstation now appears in the Computers container. Since I intend this workstation to be part of the Sales department, I went ahead and dragged the workstation from the general Computers container to the Computers OU located inside the Sales OU.
Our first domain workstation has been successfully added to the domain and put in the correct container!

A best security practice is to removal the local admin in each domain workstation. As we can now log in using domain admin accounts, the local admin only serves as a possible vulnerability for unauthorized changes locally on the workstation.
Active Directory (AD)
Management
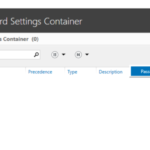
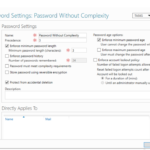
These password profiles are important in setting complexity requirements to apply to different users / user groups. You may also set password profiles with no complexity if need be (for temporary users)
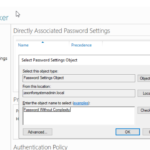
I have created a password profile that has no required complexity that I have applied to user John Tucker. This configuration will be used for temporary users where password complexity is not required.
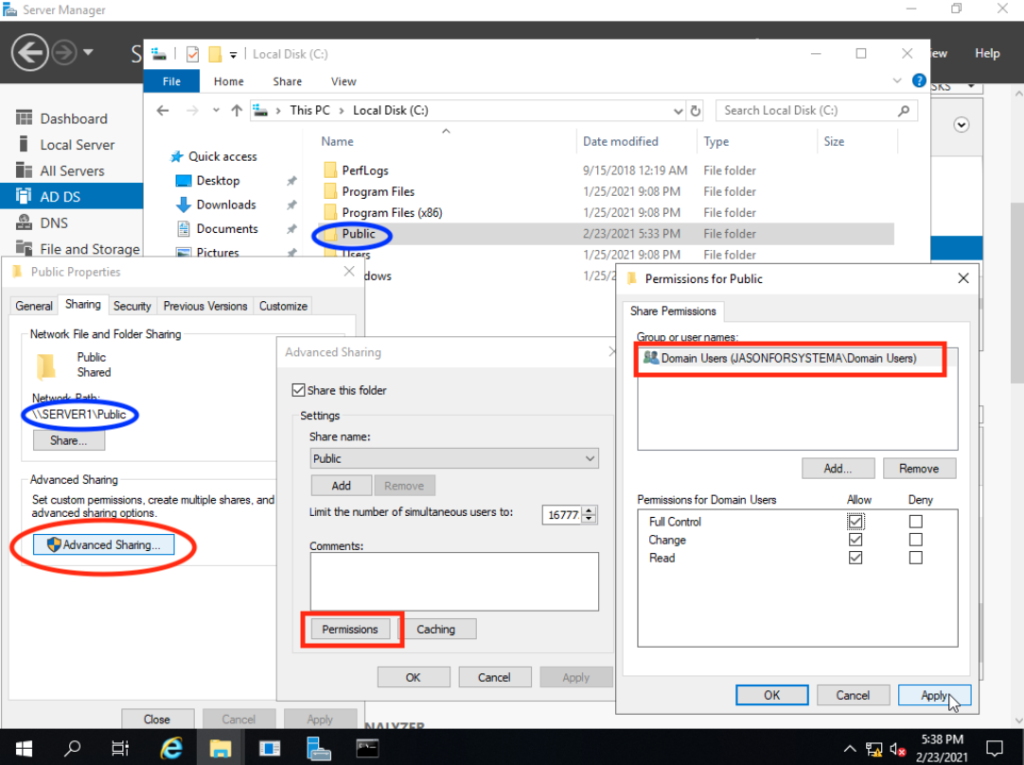
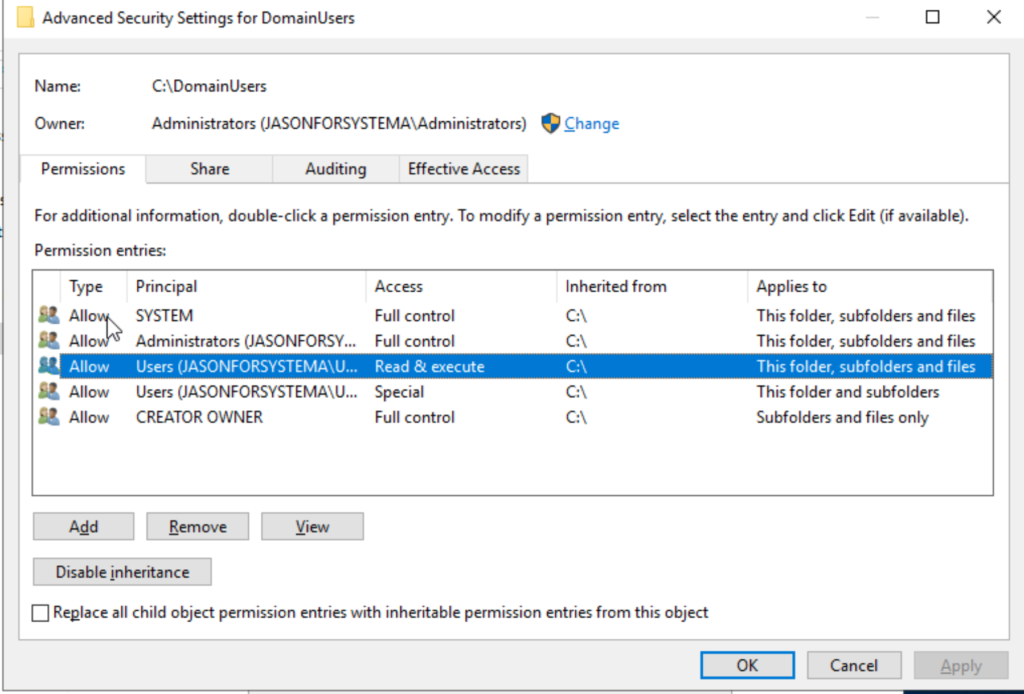
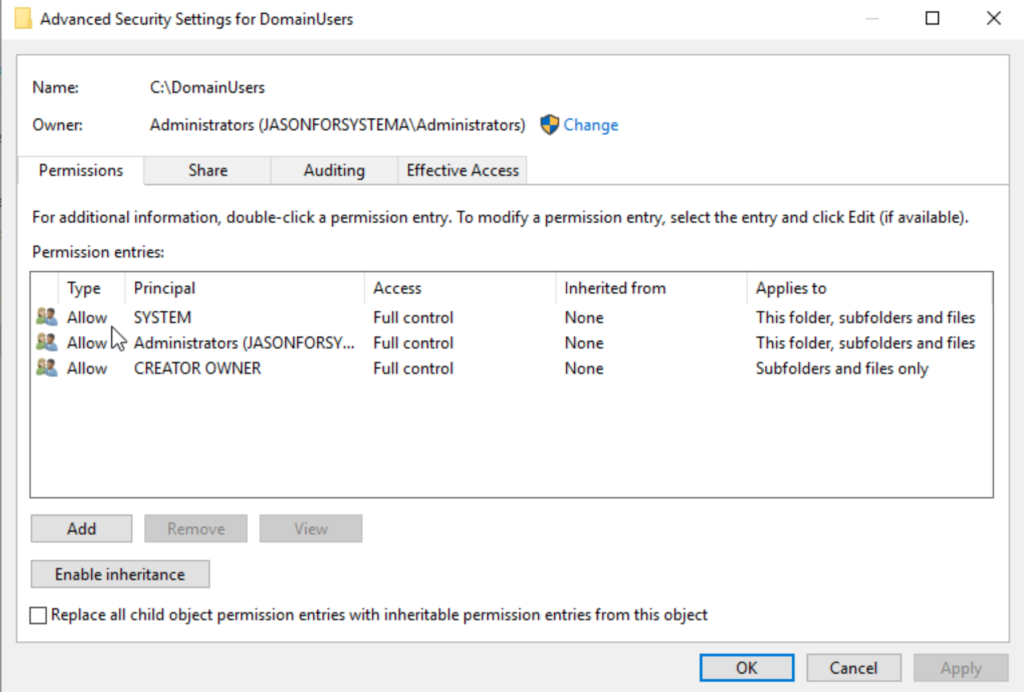
I have created a folder in hidden sharing called “Domain Users$” on the C: drive of the server. I have given all domain users permission to access this folder however, individual folders created in this folder can only accessed by its owners. To do this I have disabled inheritance and removed “Users” from the permissions entries as by default, folders will inherit permissions from the folder it is currently in.
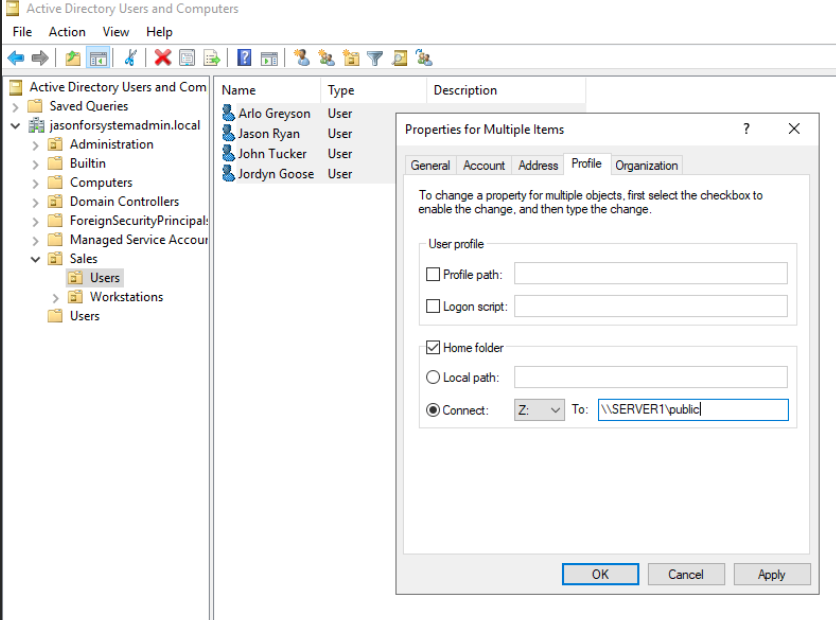
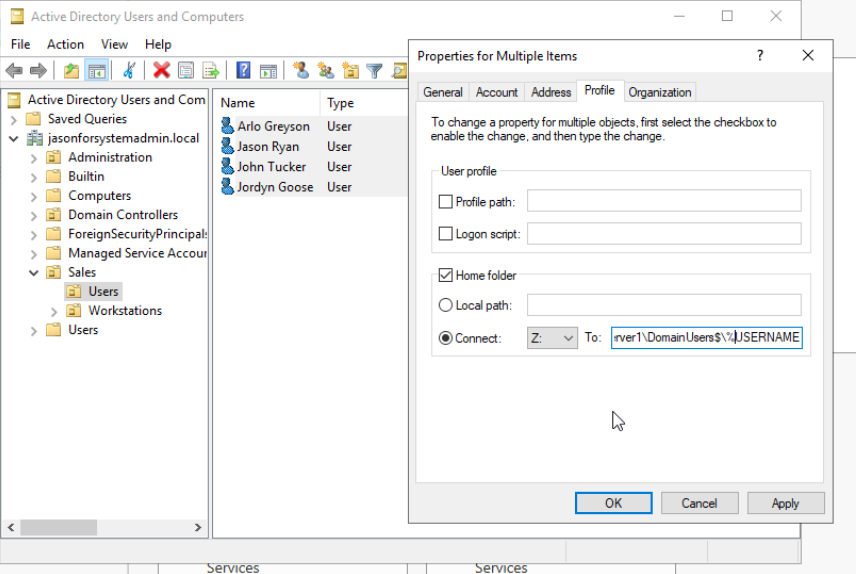
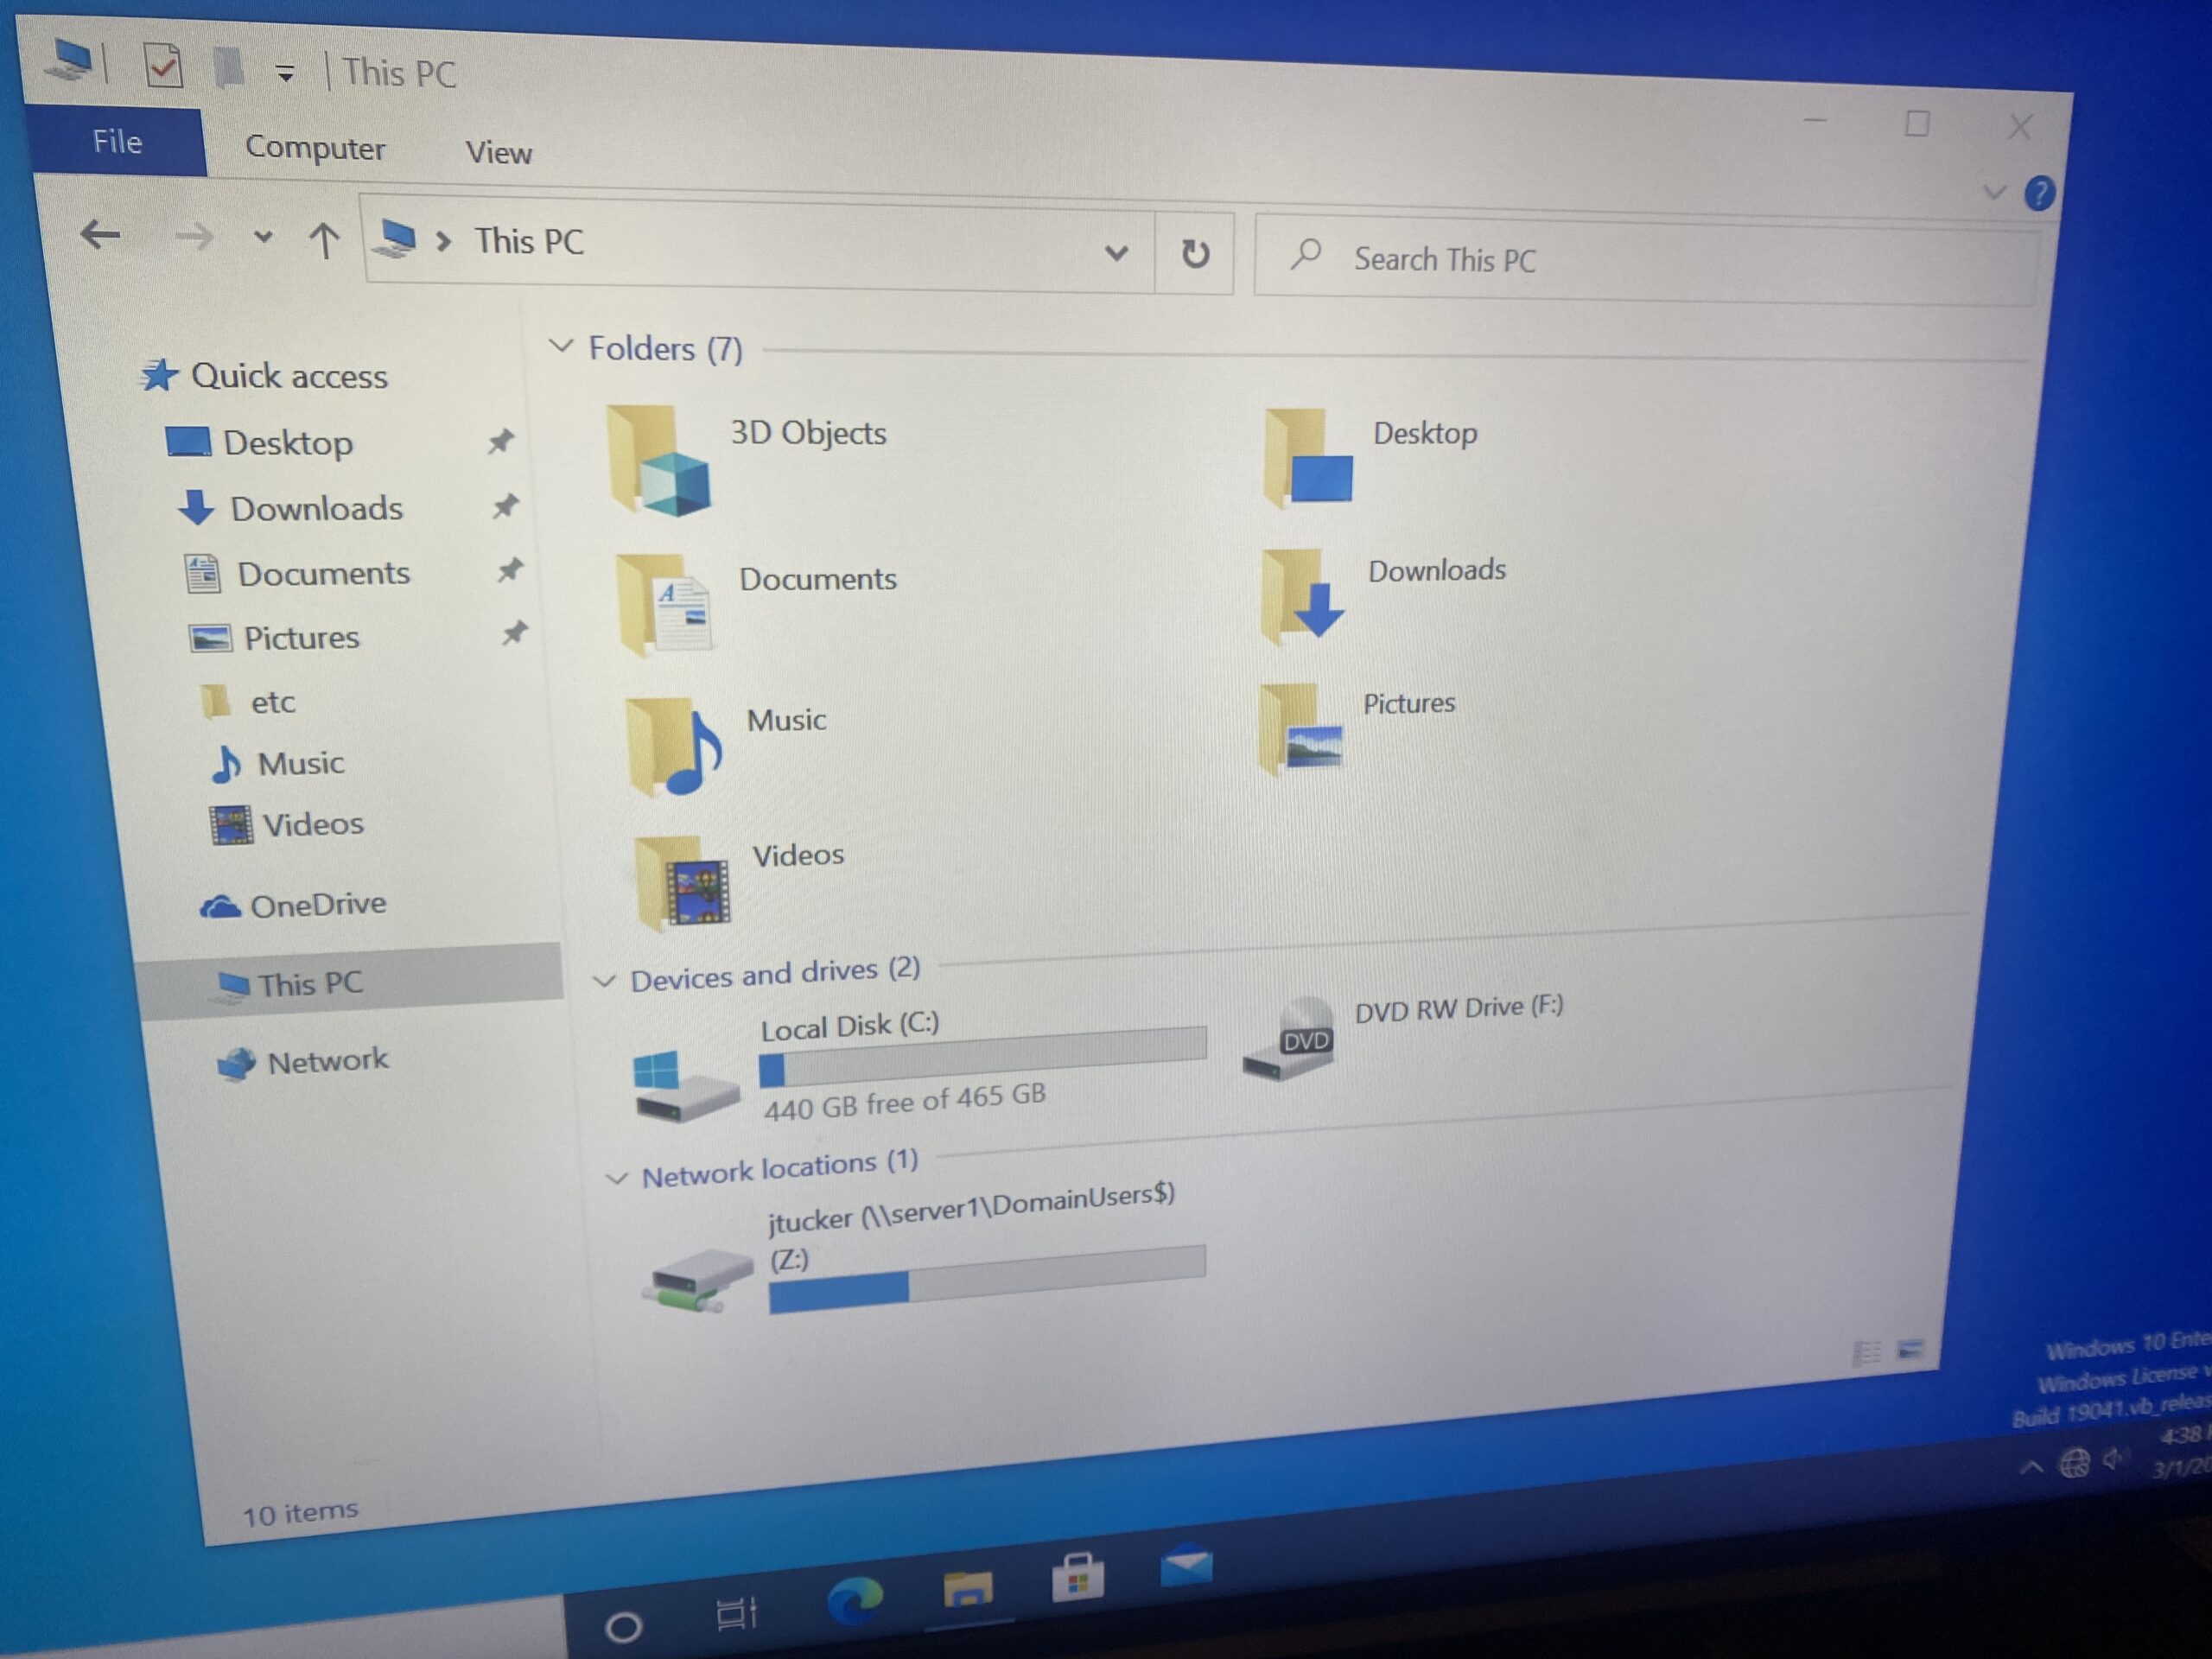
Each user will have a subfolder automatically created in the DomainUser$ folder with their log on name. This is done on AD by specifying a drive name like what we did previously but also using the environmental variable %USERNAME% when specifying the path of the folder.
In order to automatically map multiple drives when a user logs in, we will need to create a startup script.
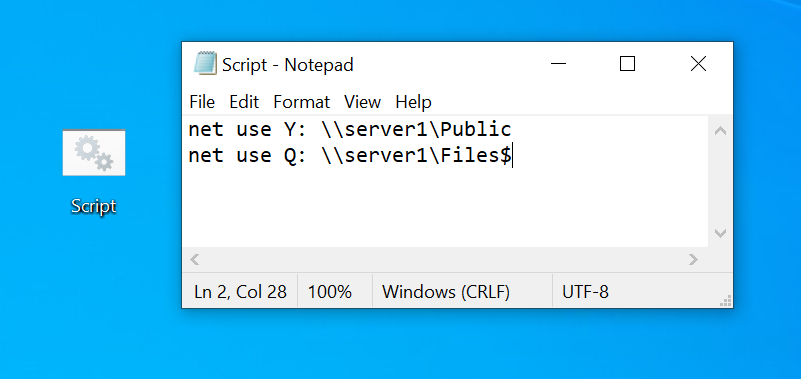
To do this, I have saved a notepad document with the necessary command line functions in order to map two folders I have created on the server (files and shared).
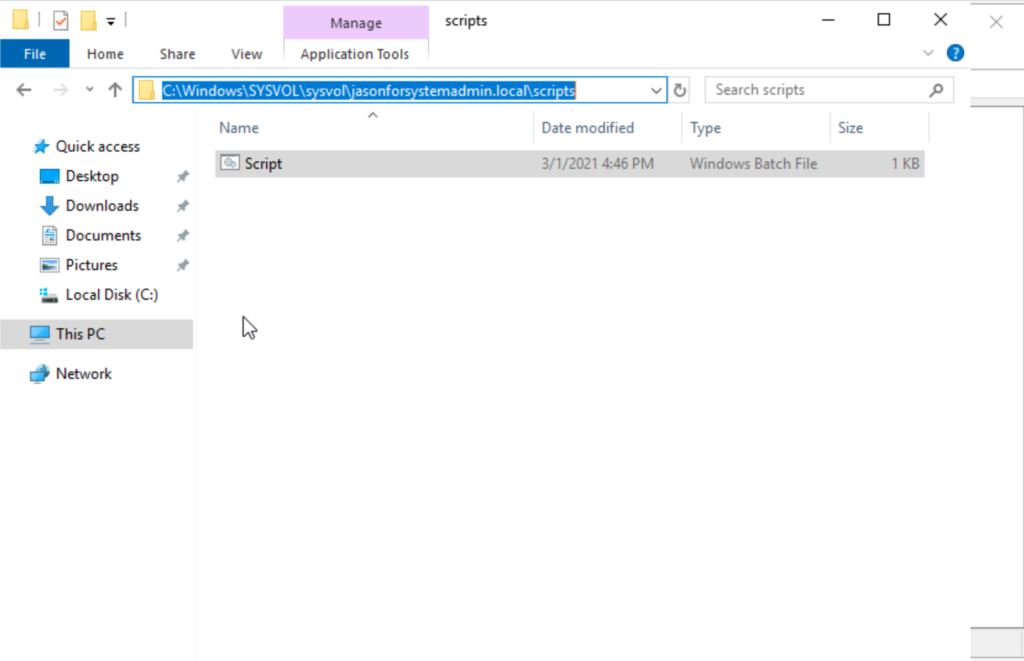
Saving this file with the .bat extension will allow the contained commands to execute when opening the .bat file. All startup scripts are stored on the SYSVOL folder on the server.
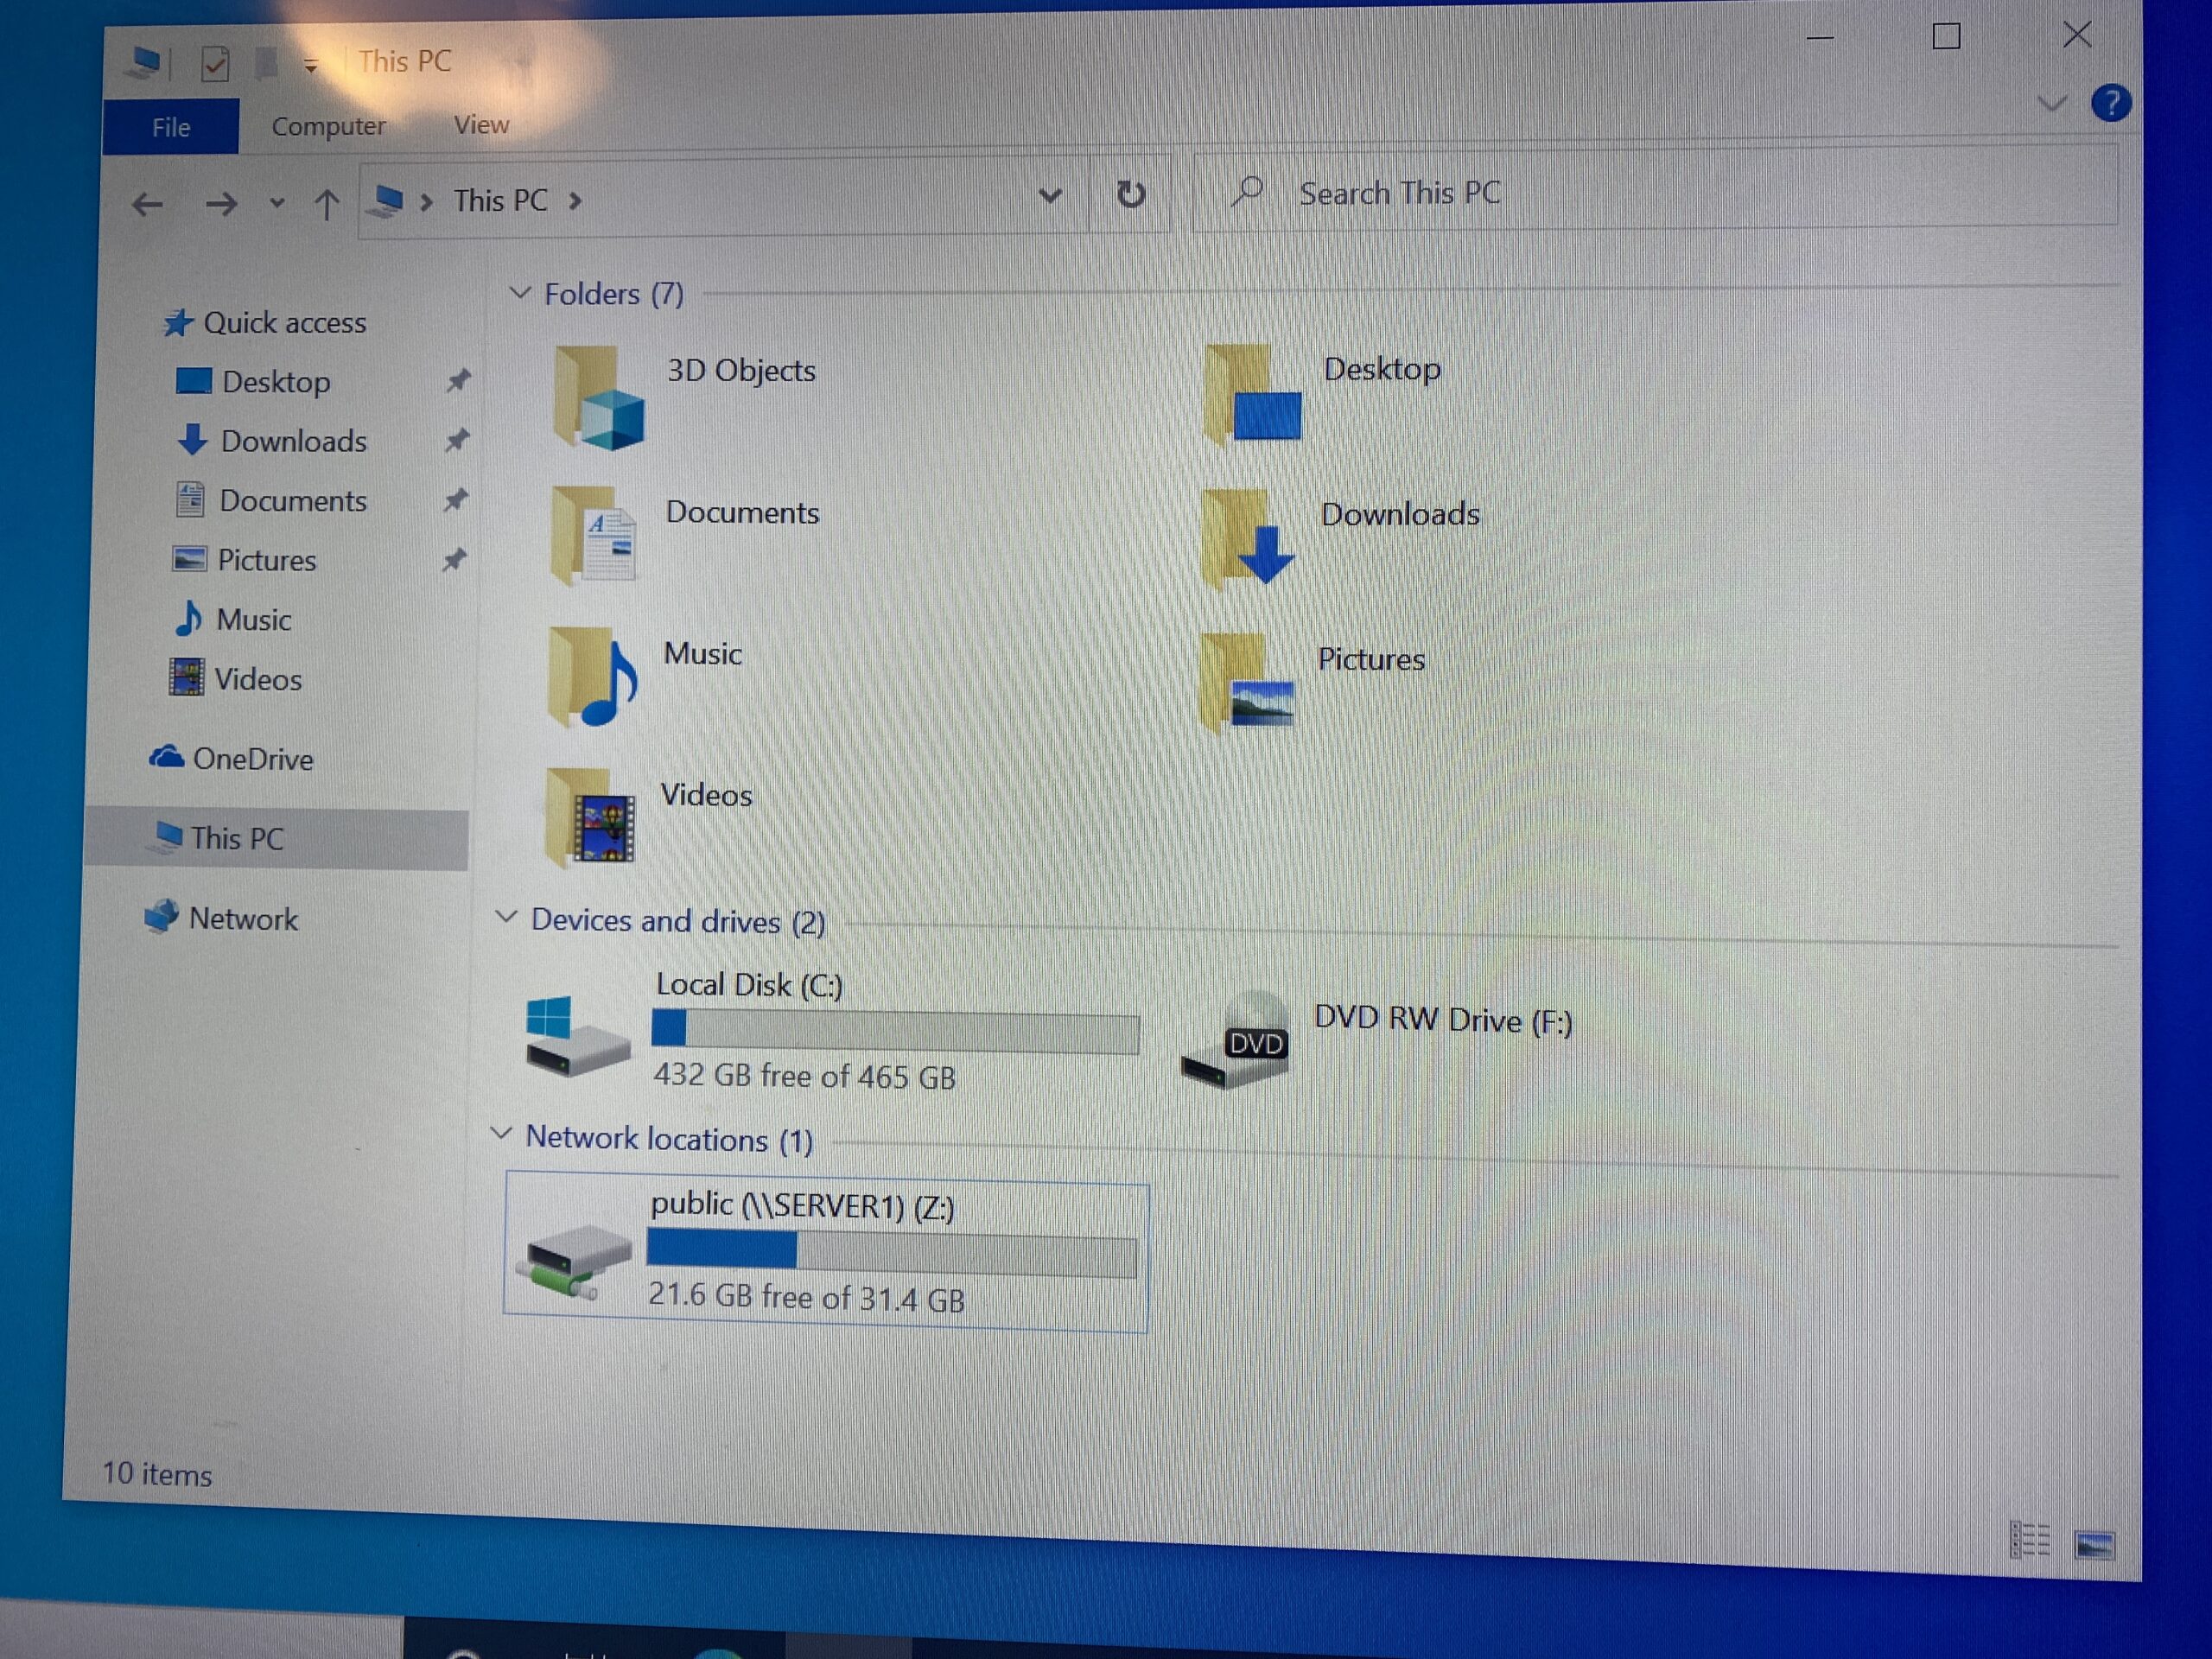
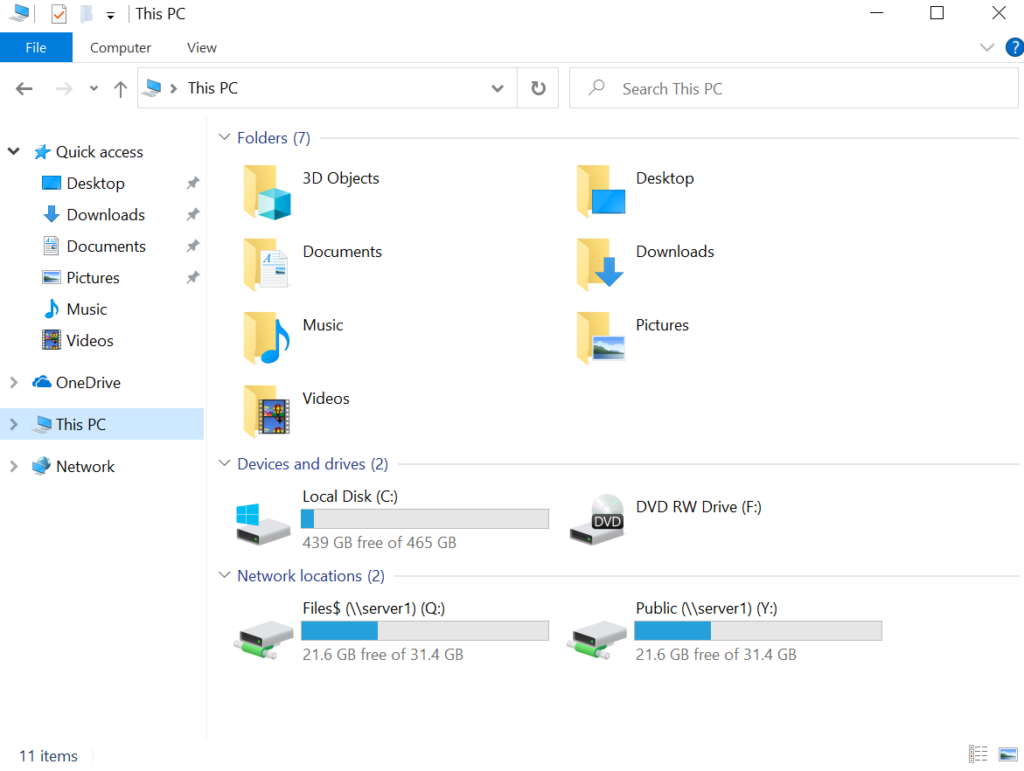
On AD, under Arlo Greyson’s account, I have entered the name of the bat file on the field “Startup Script” under the Profile tab. When logged into Arlo’s account, you see that folders specified on the script are mapped upon login.
I have created a new VM loaded with Server 2019 that I have used as a backup DC/DNS server. This server will use 192.168.100.11
The process is the same until the process of promoting the server to the domain controller. Rather than adding a new forest, we will add to an existing domain and choose to replicate from Server1.
On the domain workstations, I have added the Server2 IP address on the “Alternate DNS Server”.
This makes it so that if Server1 goes down, Server2 will serve as the Domain Controller as well as the DNS for the domain users.
After shutting down Server1 and pinging the domain name “jasonforsystemadmin.local”, you can see that the command returns 192.168.100.11 which is the backup server (Server2)
When turning Server1 back on and restarting the workstation, you can see in the last image that when I pinged the same domain name of “jasonforsystemadmin.local”, it returns 192.168.100.10 which is the original DC/DNS server (Server1)
Windows Powershell in
Server 2019
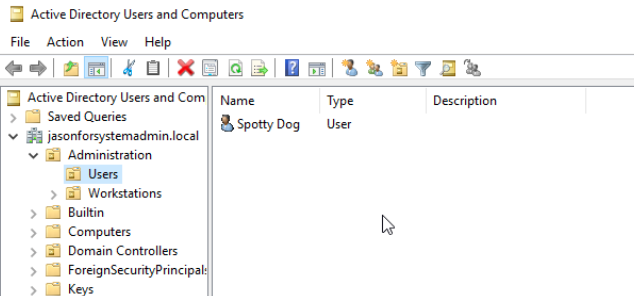
New-ADUser -name ‘Spotty Dog’ -SamAccountName sdog –UserPrincipalName sdog@jasonforsystemadmin.local -Path “OU=Users,OU=Administration,DC=jasonforsystemadmin,DC=local” –AccountPassword (ConvertTo-SecureString -AsPlainText ‘Password123’ -force) -Enabled $true -ChangePasswordAtLogon $true
The image above is the command I have used to create a new AD user through PowerShell.
New-ADUser – Creates new AD user
Name – Sets name of object
SamAccountName – sets login name
UserPrincipleName – [user log on] @ [DNS domain name]
Path – Identify location of where object is created
AccountPassword (ConvertTo-SecureString -AsPlainText ‘Password123’ -force) – Specifies password value for account and ensures that it is encrypted
Enabled – specifies that account is enabled
ChangePasswordAtLogin – specifies that password will be changed at first log in
Import-Csv -Path C:\UserAd.csv | ForEach-Object {New-ADUser -name $_.name -DisplayName $_.name -SamAccountName $_.sam -UserPrincipalName $_.email -Path $_.ou -AccountPassword (ConvertTo-SecureString -AsPlainText ‘Senha123’ -force) -Enabled $true -ChangePasswordAtLogon $true}
The command for creating users via CSV file is slightly different as we use the Import-CSV as well as the ForEach-Object functions.
Group Policy (GPO)
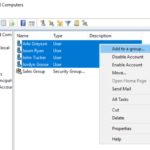
A security group named “Sales Group” has been created with all users in the Sales OU added to it.
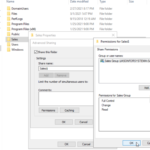
On the C: drive of the server, I have created a hidden folder named “Sales$” intended to be a shared drive for only users included in the security group. The group has been added to the permissions list of the folder.
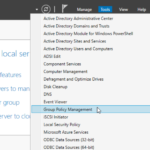
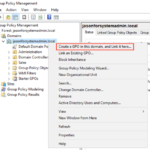
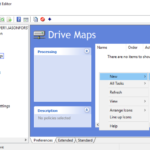
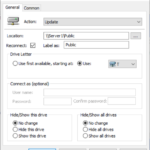
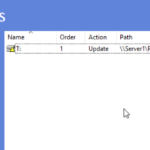
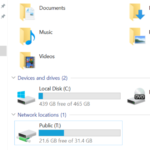
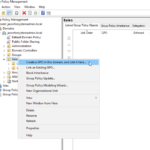
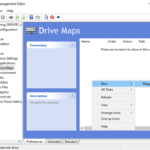
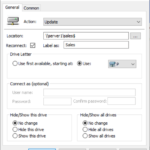
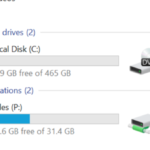
On group policy management, I have created a rule under the Sales OU named “Sales Folder Sharing” that automatically maps the “Sales$” folder using drive P: to all users under the Sales OU.
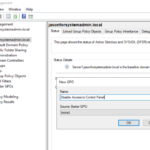
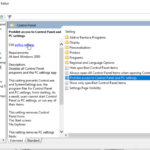
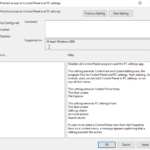
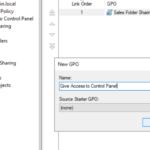
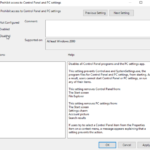
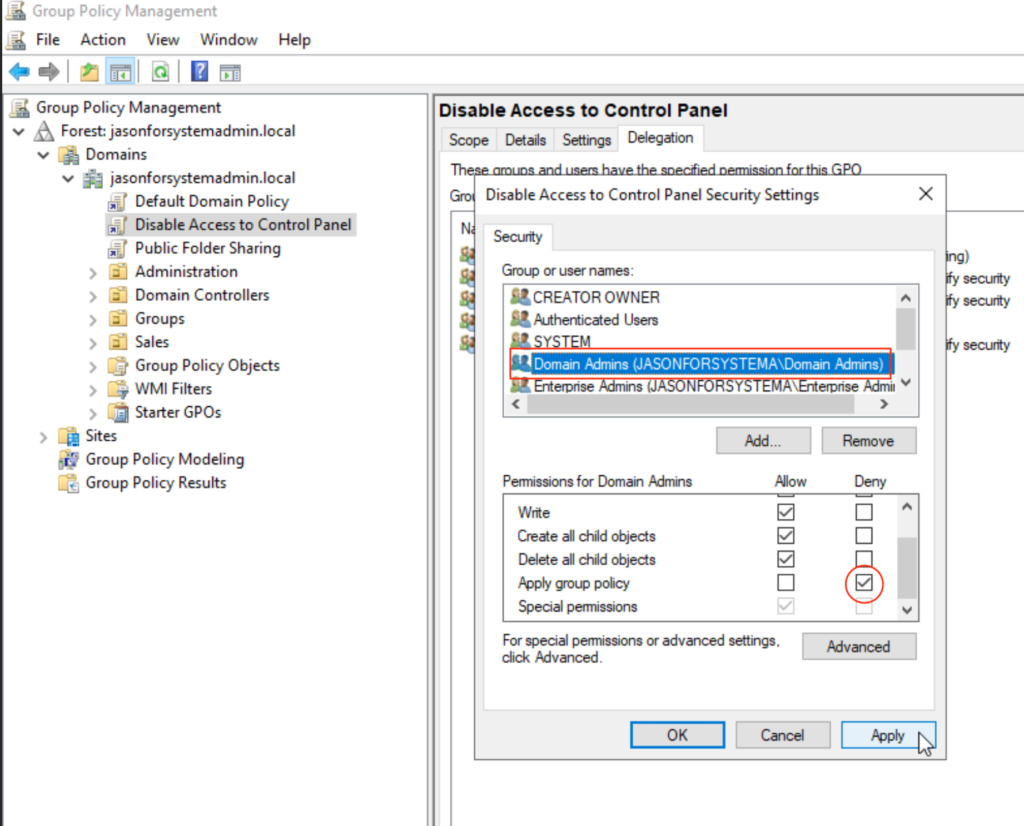
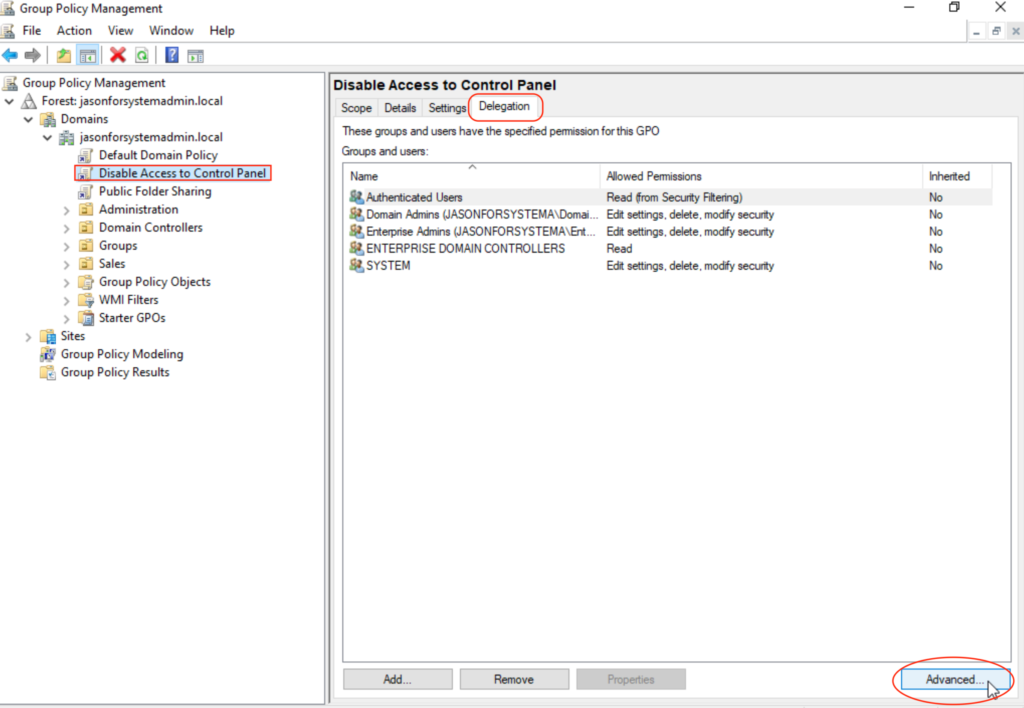
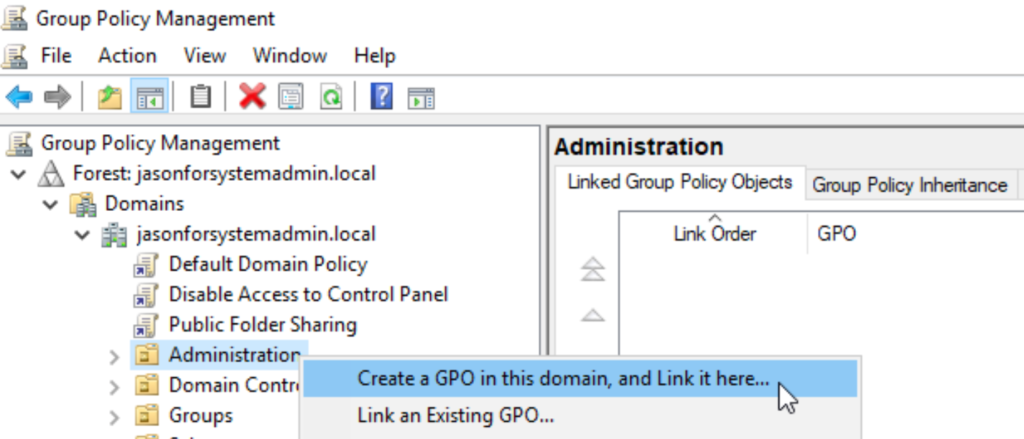
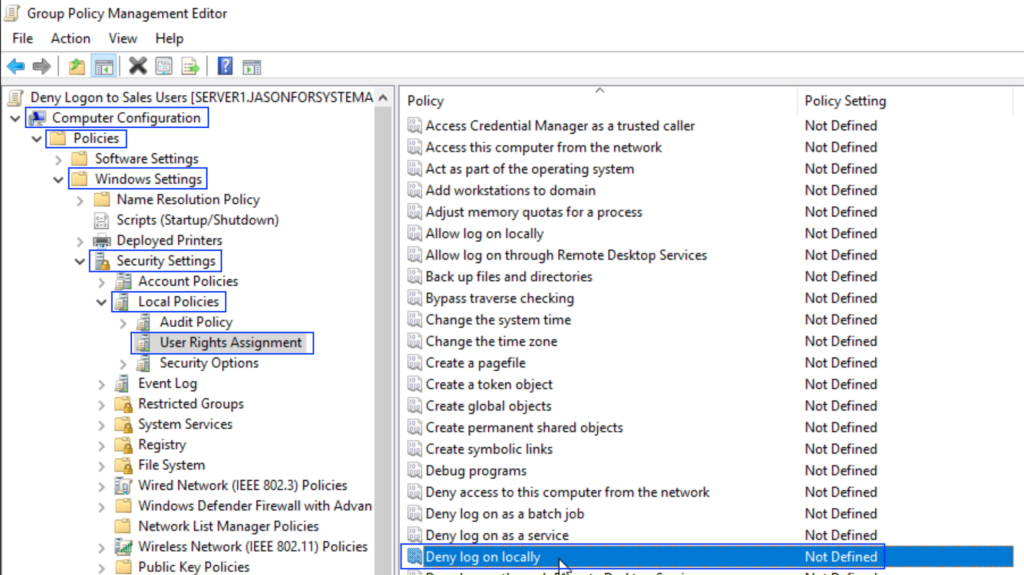
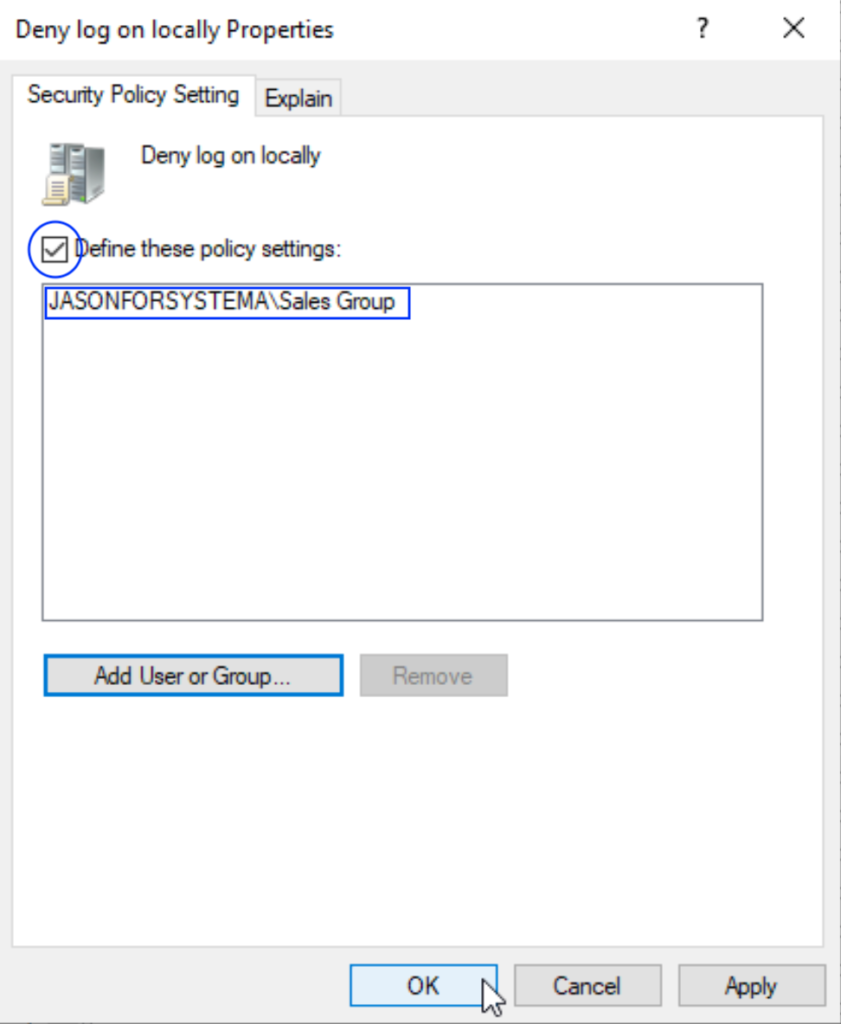
Creating a GPO under jasonforsystemadmin.local affects all of its domain users. After enabling “Prohibit access to Control Panel and PC settings” on the GPO, all domain users will affected with this setting.
To allow a users to bypass this restriction, I have created a GPO under the SALES OU that explicitly disables the “Prohibit access to Control Panel and PC settings” configuration so that all users in the SALES OU are able to access the control panel and PC settings.
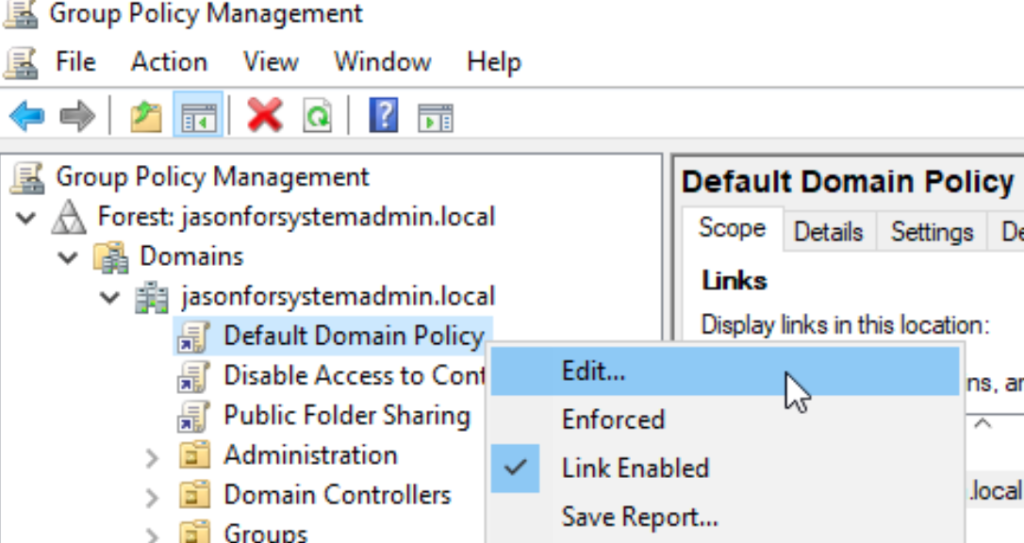
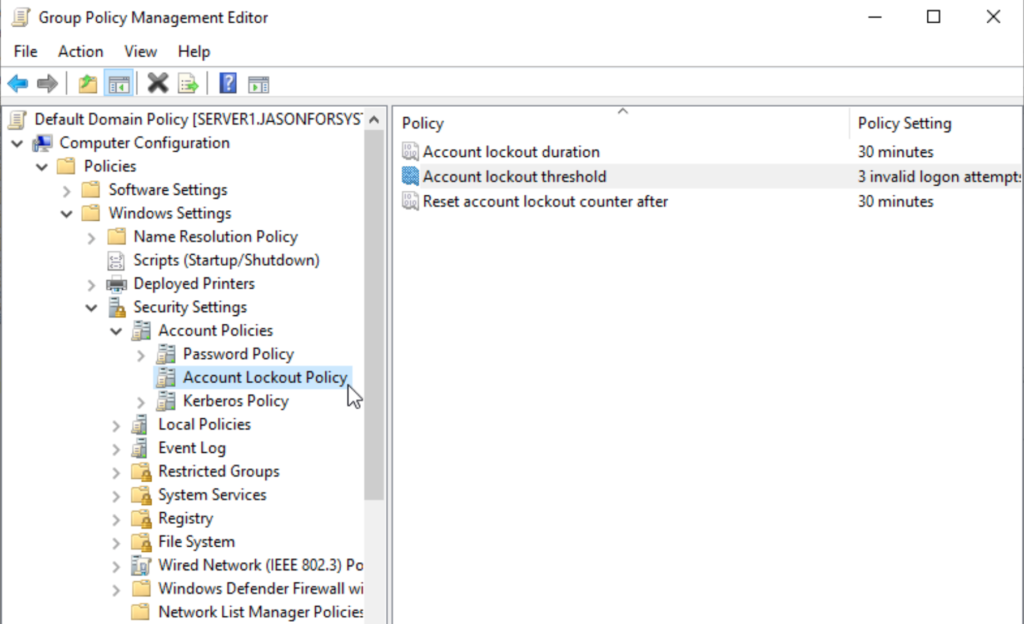
There is a default policy under my domain called “Default Domain Policy”. I was able to edit security details related to Account Lockout and Password Policies in this GPO.
Account Lockout Duration: How long account will be locked out for after threshold is reached.
Account Lockout Threshold: How many invalid password attempts until account is locked out.
Reset Account Lockout Counter After: How long until invalid password attempt counter resets.
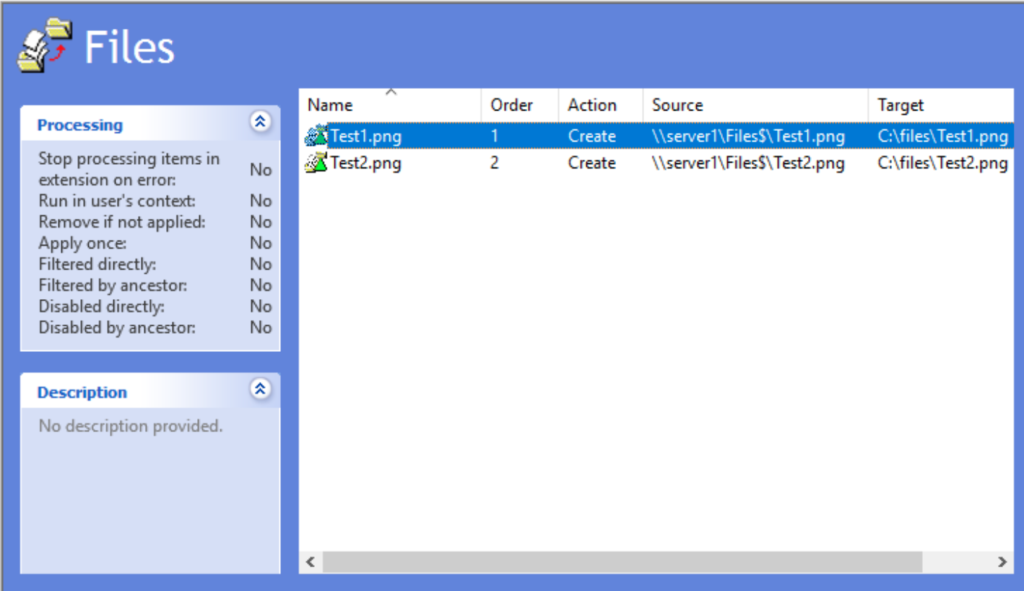
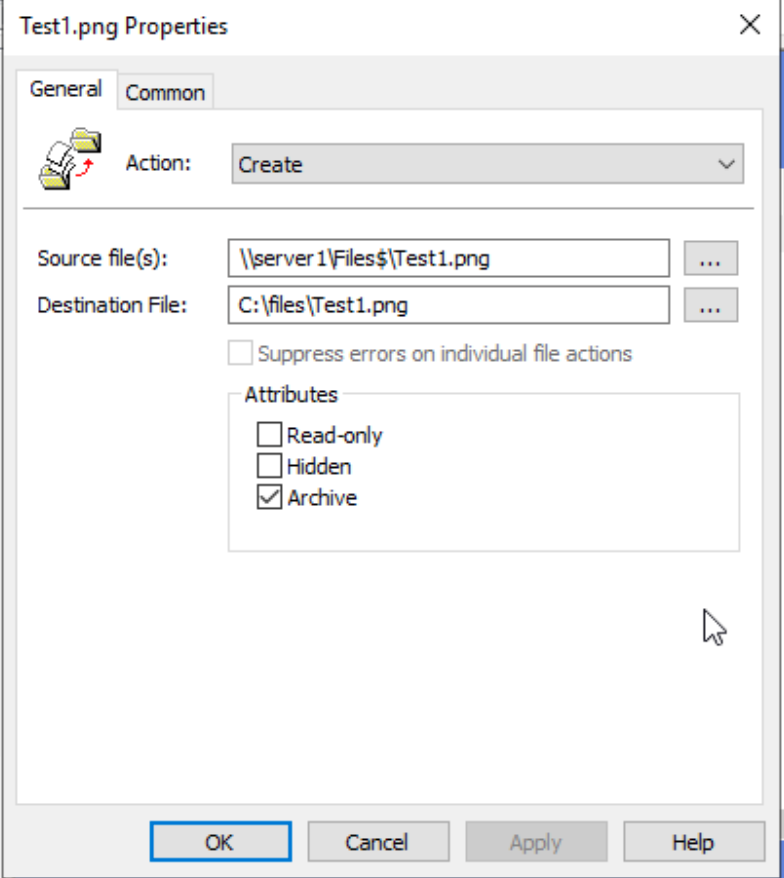
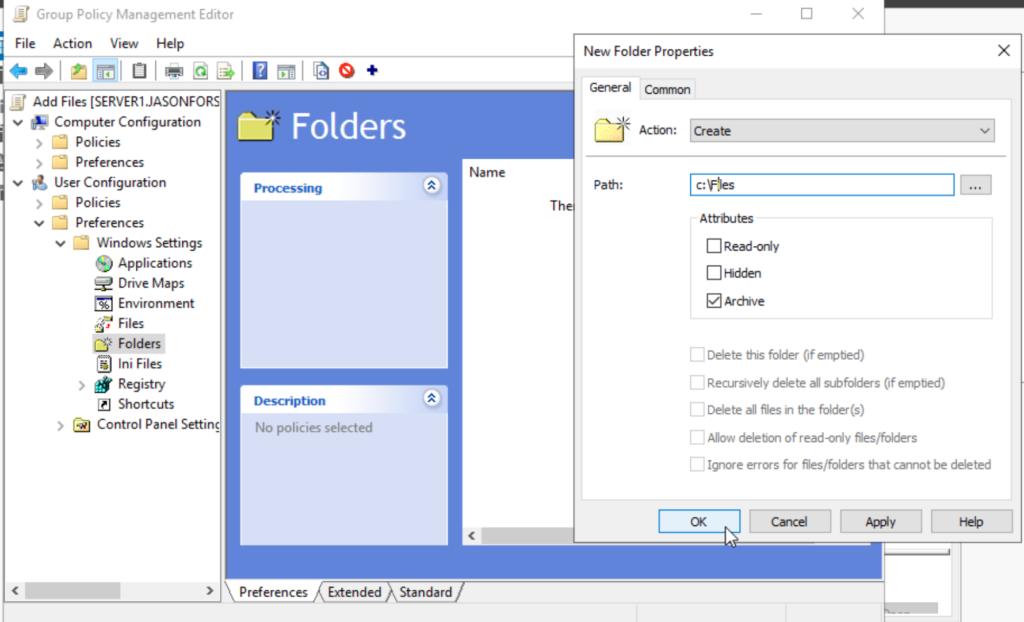
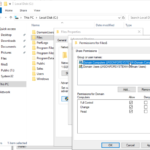
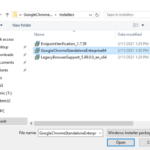
We downloaded the installer for Google Chrome Enterprise and placed it into the Files folder we have created earlier. We ensured that domain computers have full access to this folder.
We created a GPO under the Sales OU to perform the install.
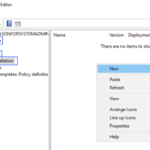
This was done by creating a package under the computer configuration section of the GPO editor and linking it to the Google Chrome installer we have placed in the Files folder.
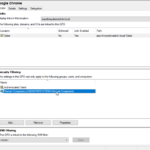
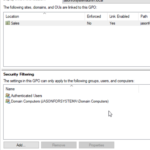
Lastly, we have to make sure that domain computers is included in those who are going to be affected by the GPO.
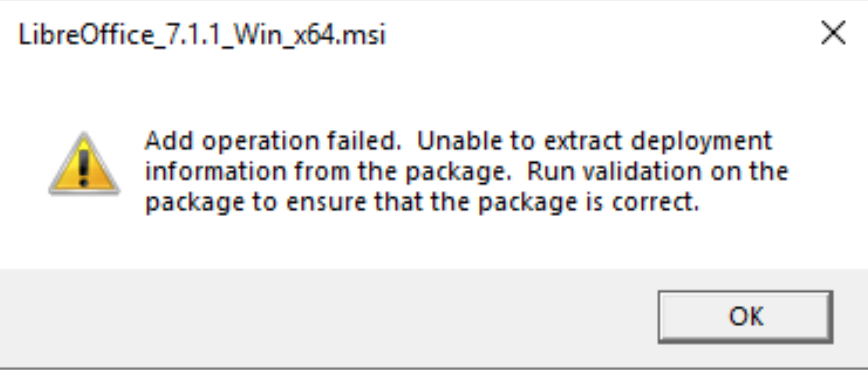
If the installer of the application that you want to deploy does not have a “Windows Installer Package” file extension, then you will get an error when attempting to deploy via GPO.
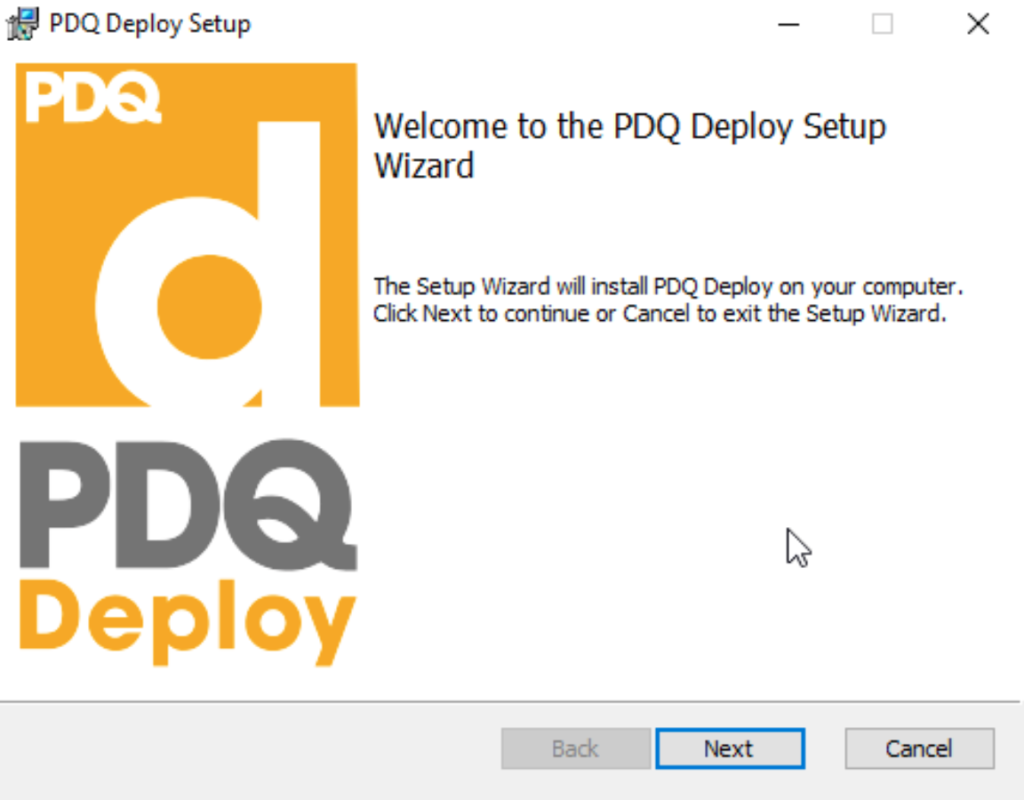
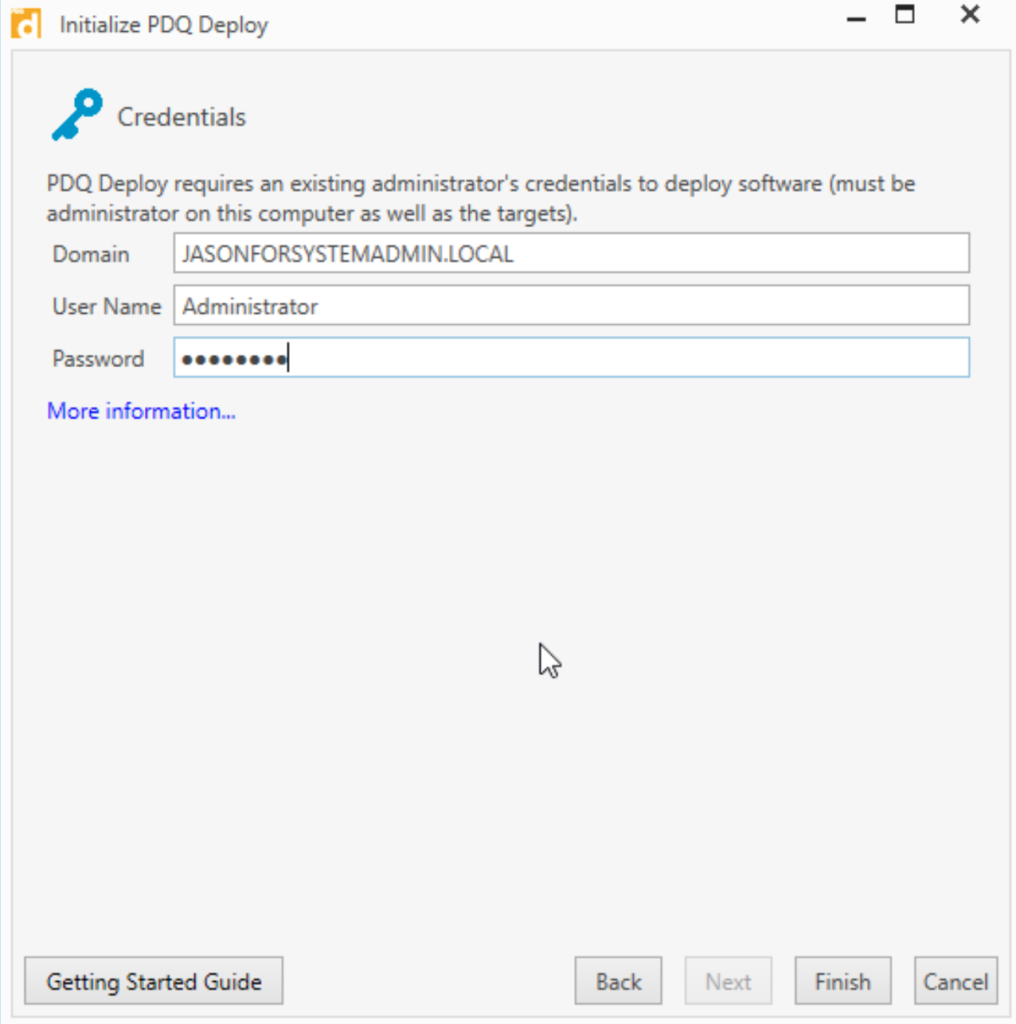
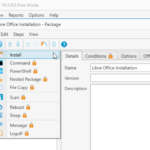
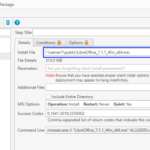
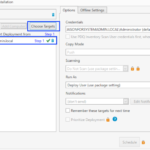
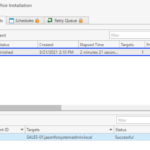
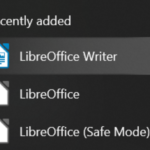
In our example, we have chosen to deploy Libre Office whose installer file has a .msi file extension. As we are not able to deploy this via GPO, we will be utilizing an application named PDQ to deploy this installation package. We will need to enable file and printer sharing on the host workstation before we deploy the package.
There will be instances where GPOs are only able to properly execute on an object that meets a specific parameter.
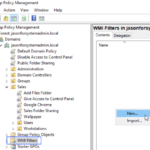
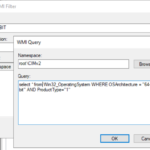
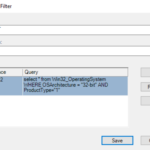
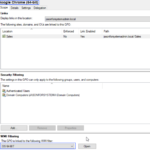
A WMI filter can be created so that a GPO can be applied to workstations that meet a specific requirement.
In this example, we have Google Chrome installers for both 32-bit and 64-bit OS architectures. We have created two GPOs and used the WMI filter so that all workstations with a 32-bit architecture will use the 32-bit Chrome installer. We have also done this for the Chrome Installation GPO for 64-bit workstations.
Performing this installation requires that I download the office deployment tool. After downloaded, I organized the files into two separate folders. One with the 32-bit config file along with the setup file and the other with the 64-bit config file along with the setup file.
To download these files, it required that I run the setup file ALONG with the xml file included in the office deployment tool. I have done this via the command line.
If completed correctly, a folder named “Office” will appear including the installation files for Office.
I have removed the “<!– –!>” marks on the xml files. That mark signifies that the text in between will be read as comments. Removing the marks will allow the text in between to not be read as a comment and will execute as a command.
Once completed, I moved both files into the public drive so all workstations have access to it.
I have created a .bat file using notepad to run the setup executable along with the configuration xml.
I then created a GPO in the Sales OU to run this .bat file as a startup script for the sales workstations. The GPO will use the x32 WMI filter to only apply this GPO to the appropriate workstations.
Along with this, I have specified the “Max wait time for Group Policy Script” I did this so that we allow the office installation enough time to complete when executed via the .bat file.
When Office is being installed, there may be a prompt for admin credentials by UAC. In order to avoid this from interfering with the installation, I included a policy in the GPO to elevate permissions without triggering the UAC.
This along with disabling the policy “Admin Approval Mode for Built-in Administrator Account”, makes it so that when a user logs in, no matter if they are an administrator or not, the .bat can execute the install properly without issues regarding admin privileges and UAC prompts.
After I enforced the GPO and performed a gpupdate /force on the domain computer, Office has installed successfully!
Command Line
New-ADUser -name ‘Spotty Dog’ -SamAccountName sdog –UserPrincipalName sdog@jasonforsystemadmin.local -Path “OU=Users,OU=Administration,DC=jasonforsystemadmin,DC=local” –AccountPassword (ConvertTo-SecureString -AsPlainText ‘Password123’ -force) -Enabled $true -ChangePasswordAtLogon $true
The image above is the command I have used to create a new AD user through PowerShell.
New-ADUser – Creates new AD user
Name – Sets name of object
SamAccountName – sets login name
UserPrincipleName – [user log on] @ [DNS domain name]
Path – Identify location of where object is created
AccountPassword (ConvertTo-SecureString -AsPlainText ‘Password123’ -force) – Specifies password value for account and ensures that it is encrypted
Enabled – specifies that account is enabled
ChangePasswordAtLogin – specifies that password will be changed at first log in
Import-Csv -Path C:\UserAd.csv | ForEach-Object {New-ADUser -name $_.name -DisplayName $_.name -SamAccountName $_.sam -UserPrincipalName $_.email -Path $_.ou -AccountPassword (ConvertTo-SecureString -AsPlainText ‘Senha123’ -force) -Enabled $true -ChangePasswordAtLogon $true}
The command for creating users via CSV file is slightly different as we use the Import-CSV as well as the ForEach-Object functions.

